Introduction
Architectural photography is one of my favorite formats. You cannot step outside without encountering architecture, it surrounds us, shaping our environments and influencing our experiences. From the new, towering skyscrapers to ancient buildings, every structure tells a unique story and captures the essence of human creativity. I was recently fortunate enough to travel to Athens and photograph the Parthenon, a former temple on the Athenian Acropolis, Greece. This amazing structure really sums up to me the best of architectural photography.
In this beginner’s guide, we will walk you through the fundamental aspects of architectural photography, equipping you with the essential knowledge and techniques to capture awe-inspiring images of buildings and structures. Whether you’re an aspiring architectural photographer, a hobbyist looking to improve your skills, or simply someone who takes their smartphone out to snap interesting architecture, this guide will serve as your compass in navigating the vast and fascinating genre of architectural photography.
Throughout this blog post, we will delve into topics such as understanding architectural styles, mastering composition, and framing, utilizing natural and artificial lighting to create mood and drama, and post-processing techniques to enhance and refine your images. We’ll also explore the significance of capturing details, textures, and patterns, as well as the importance of considering the human element in architectural photography.
So without further ado let’s dive in.
Key Takeaways:
- Setup a photo-taking process to make better architectural photographs
- How you can use long or slow shutter speeds
- What lenses are most suited lenses for architectural photography?
- Getting started with minimum equipment
- How to use an ND filter
- Digital post-production
What is the best time of the day to shoot architecture photography?
The best time of the day to shoot architecture photography is any time when the sun isn’t directly over your head. We, photographers, don’t like the sun directly over our heads. Not really. Not when we’re shooting portrait photos, not when we’re shooting landscapes, and certainly not when we’re shooting architecture.
I am not saying that it’s impossible to shoot images when the sun is directly overhead. But it’s not exactly the preferred time of the day. The shadows are hard, and the light is generally less flattering.
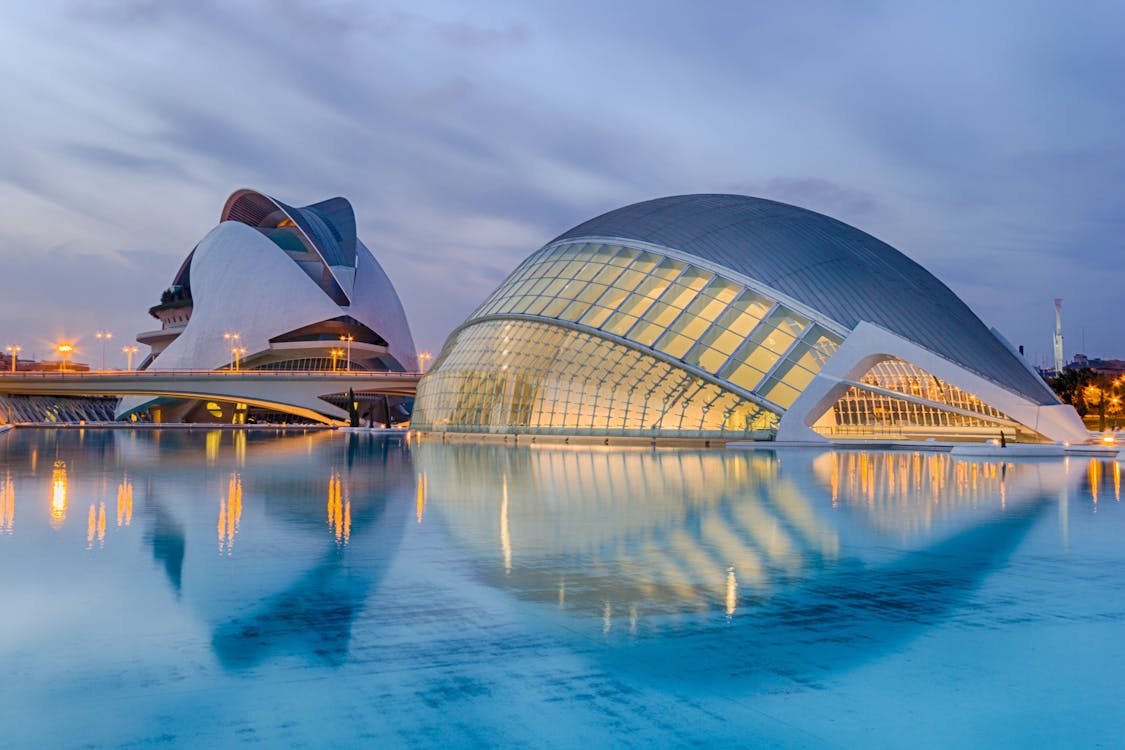
You can shoot architecture photos during the morning or afternoon golden hours. You can shoot during the blue hour, too – when there is a little bit of warmth still left in an otherwise dark sky that’s transitioning from blue to dark. You can also shoot architecture photography after dark. But not during the middle of the day.
Which are the best lenses to shoot architecture photography with?
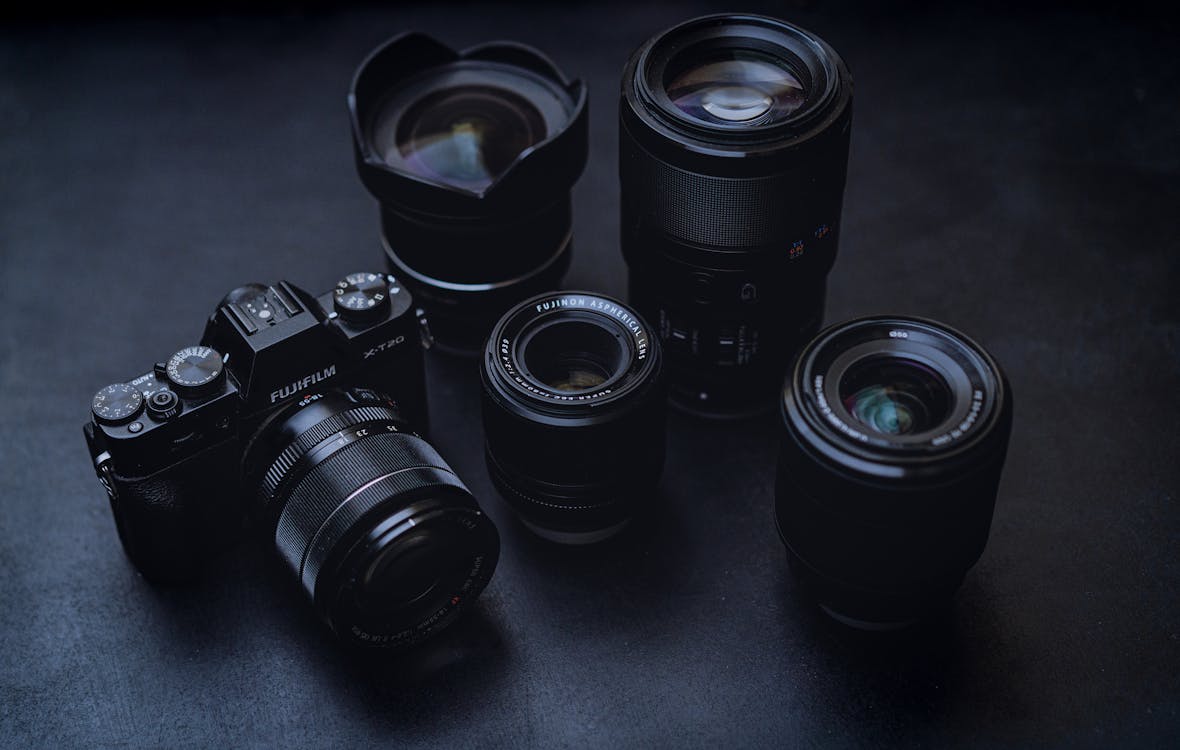
Let’s talk about lenses now.
When it comes to architectural photographs, the lens has a bigger role to play than the camera model. Regardless of your camera model, you need the right lens to capture images with the least amount of perspective disorder.
Situations were a little different in the olden days. View cameras played a large part in architectural photography. These cameras (such as SINAR) could correct perspectives using the tilt and shift movements of the camera itself.
Today the same effect can be achieved using a tilt-shift lens.
If you’re confused about perspective correction, think of photographing a tall building from ground level. The resulting image usually shows the building as appearing narrow at the top and wide at the bottom.
This is absolutely natural and okay for everyday photography, but when it comes to architectural photography, you want those vertical lines to be pin-straight. View cameras correct this issue with camera body movements.
Why the tilt-shift lens is your best choice for architectural photography
The reason is because it’s much easier to use compared to a view camera, and the results are just as good. Tilt-shift lenses allow you to alter the plane of focus in three different directions: tilt (vertical), shift (horizontal), and rotate (diagonal). These movements give you more control over perspective correction, enabling you to create well-composed and balanced images. They also allow you to precisely control what is in focus and what isn’t.
Moreover, tilt-shift lenses are designed with larger image circles than the average lens, so they have a greater degree of coverage and can capture a wider angle of view without distortion. This makes them ideal for architectural photography as you don’t have to worry about converging verticals. They are also great for macro photography as they enable you to keep your whole subject in focus without having to resort to the traditional method of shooting at a small aperture and taking multiple shots while moving the focus point.
These lenses allow for the same corrections using the movement of the lens rather than the camera body. Canon, Nikon, and other lens makers have a range of tilt-shift lenses out there, understandably more models on the wide end of focal lengths.
Tilt-shift lenses are usually more expensive than their normal counterparts, and many photographers choose to hire them as and when required for a shoot.
If you are a beginner, it is best to hire a tilt-shift lens for a couple of days to learn how to use it unless you have access to such a lens in a classroom environment. Once you’re confident that the lens can pay itself off over time (i.e., you really need it for the kind of paid work you do), go for it. Buying a lens is always going to be more cost-effective over a period rather than renting it.
Nikon PC NIKKOR 19mm f/4E ED Tilt-Shift is a great option, as is the Canon TS-E 50mm f/2.8L Macro Tilt-Shift. Canon also makes a 135mm tilt-shift lens, which can be great for photographing buildings from a distance. The Rokinon Tilt-Shift 24mm f/3.5 ED AS UMC is another good choice.
Characteristics of Tilt-Shift Lenses –
- Ability to correct perspective distortions, which are common with any other lens.
- Ability to maximize the depth of field!
- Tilt-shift lenses can also be used for just the opposite – to isolate a certain area of the image by reducing or minimizing the depth of field.
- Usually on the wider end of focal lengths (12mm/14mm/28mm)
- A clear advantage over other lenses is to be able to make in-camera corrections.
- Manual focus – the construction of the lens barrel allows only manual focus.
- Best used with a tripod.
Along with the advantages of tilt-shift lenses come the disadvantage of bulk and the added inconvenience of time-consuming photo-taking processes. Being a manual lens also has its drawbacks. It can be tricky and cumbersome for a beginner.
Alternatives to tilt-shift lenses
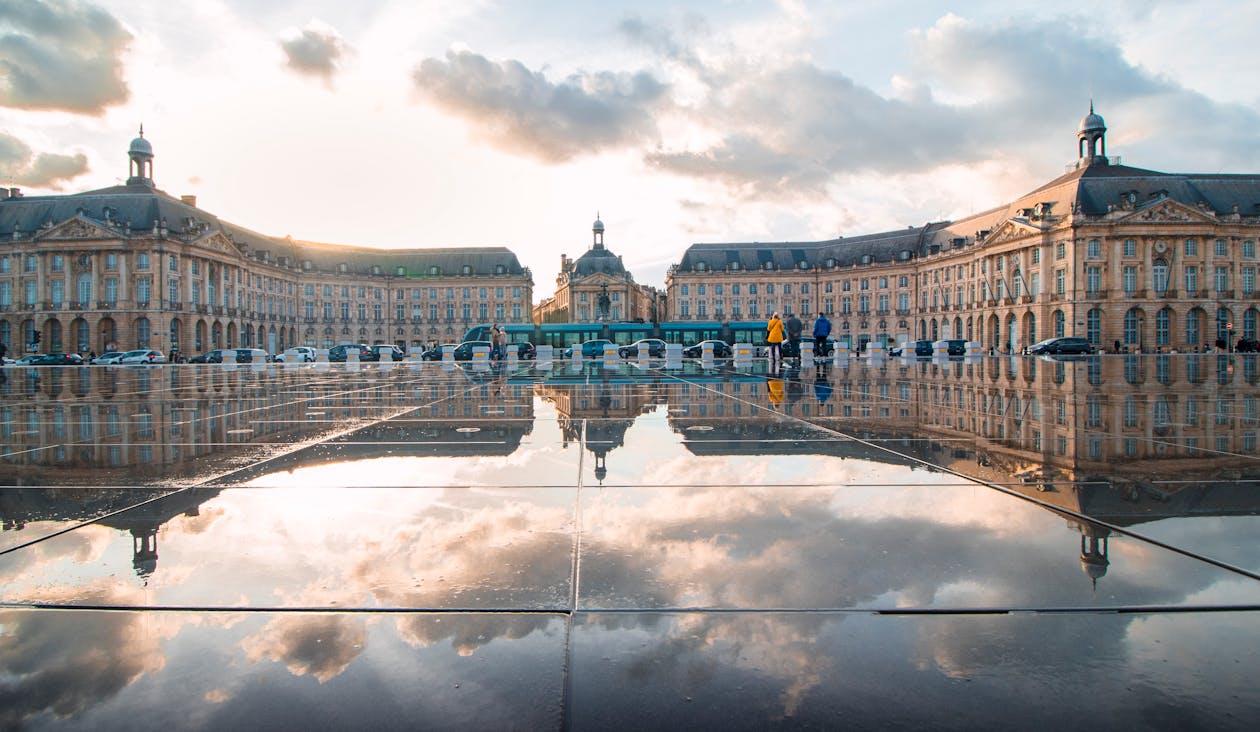
If you don’t have access to a tilt-shift lens, you could choose a general wide-angle lens that offers the least amount of perspective disorder. Wide-angle lenses are prone to distortion. At the widest focal length, they do suffer from barrel distortion. That makes everything appear a bit roundish toward the edges of the frame.
Some of these can be corrected during post-processing. Every photo editing software comes with a feature known as lens profile correction. When you dial that, depending on whether the software has a profile for that lens, it will correct it automatically. And that’s that. There is nothing else that you’ve to do.
Whatever you do, choose lenses that are sharp. Most wide-angle lenses, especially those with a wide-open aperture, suffer from the problem of spherical aberration. It happens when the spherical nature of a lens element causes the light rays to not converge on the same focal point on the focusing plane (sensor/film).
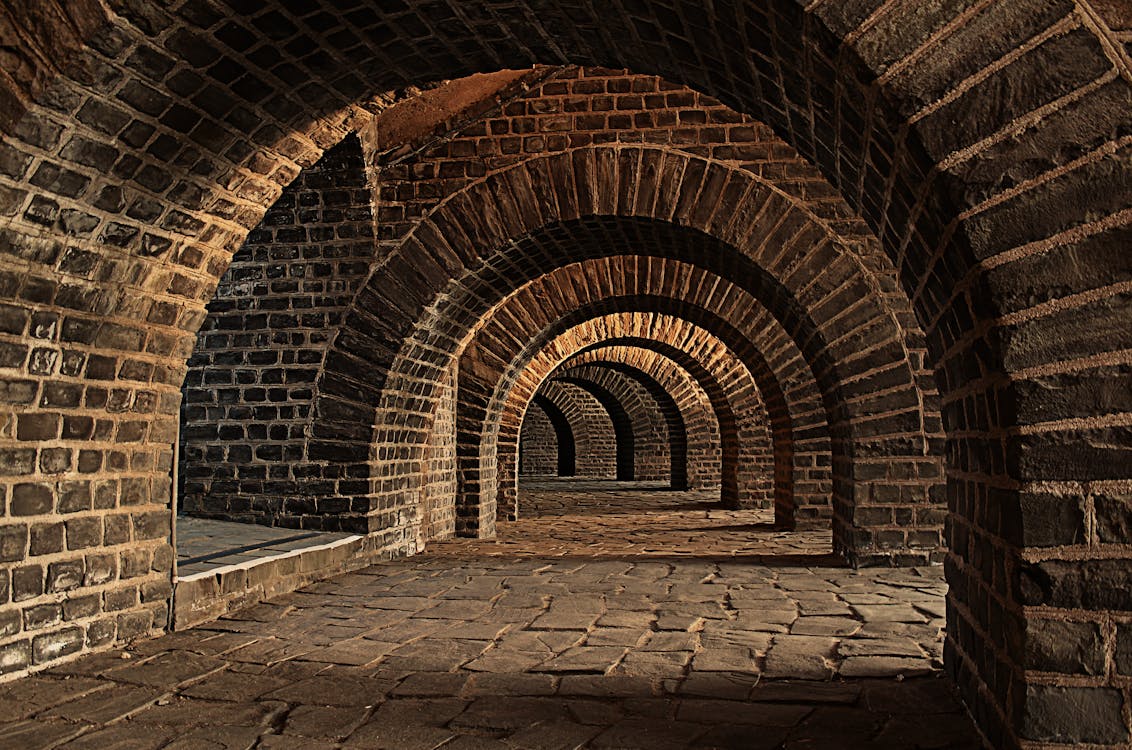
To avoid these problems, lens designers use a specially built element known as an aspherical element. As the name suggests, these lens elements are not spherical. Being aspherical means the light rays can be focused to converge on the same focal point at the back of the camera. This means lenses with aspherical elements in them are sharper.
As you can imagine, architecture photos are expected to be sharper; you can do a much better job capturing stunning architectural shots when you have a lens with a few aspherical elements in its design.
The Nikon NIKKOR Z 14-30mm f/4 S is a good option that you can look at if you’re using one of the full-frame Z-mount cameras from Nikon. The Sony FE PZ 16-35mm f/4 G is a nice option that you can look at if you’re a Sony full-frame mirrorless camera user. The Canon RF 15-35mm f/2.8 L IS USM is a nice lens that you can look into if you’re a Canon mirrorless camera user. Of course, these are just a few of the options that I can recommend.
How to use the technique of long exposure photography in architectural photography?
You would want to use a long exposure shot for an architectural image primarily to incorporate movement, such as when you want to capture a light trail in the foreground of the architecture. Of course, you can also use long exposures to make people disappear. More on that later.
As mentioned earlier, as you are going to need a tripod in most cases shooting architecture, long exposures should not be a problem for you – that’s should you try that. You already have all that you need – almost all. The one thing that we haven’t brought into the equation is a neutral density (ND) filter. I will discuss that right after I explain shooting long exposure during nighttime.
Nighttime is usually my least preferred time to shoot architecture photos among the three best times I have mentioned above. The reason is that sometimes the ambient light isn’t in your control. A stray light from a phone, a flashlight, or any passing vehicle can lay waste to your setup and methodically calculated exposure setting – which can be very frustrating.
But at times, you don’t have an option. So rather than fighting the situation, I would embrace it as a challenge. I would shoot with a tripod and use the long exposure technique to ensure decent exposure.
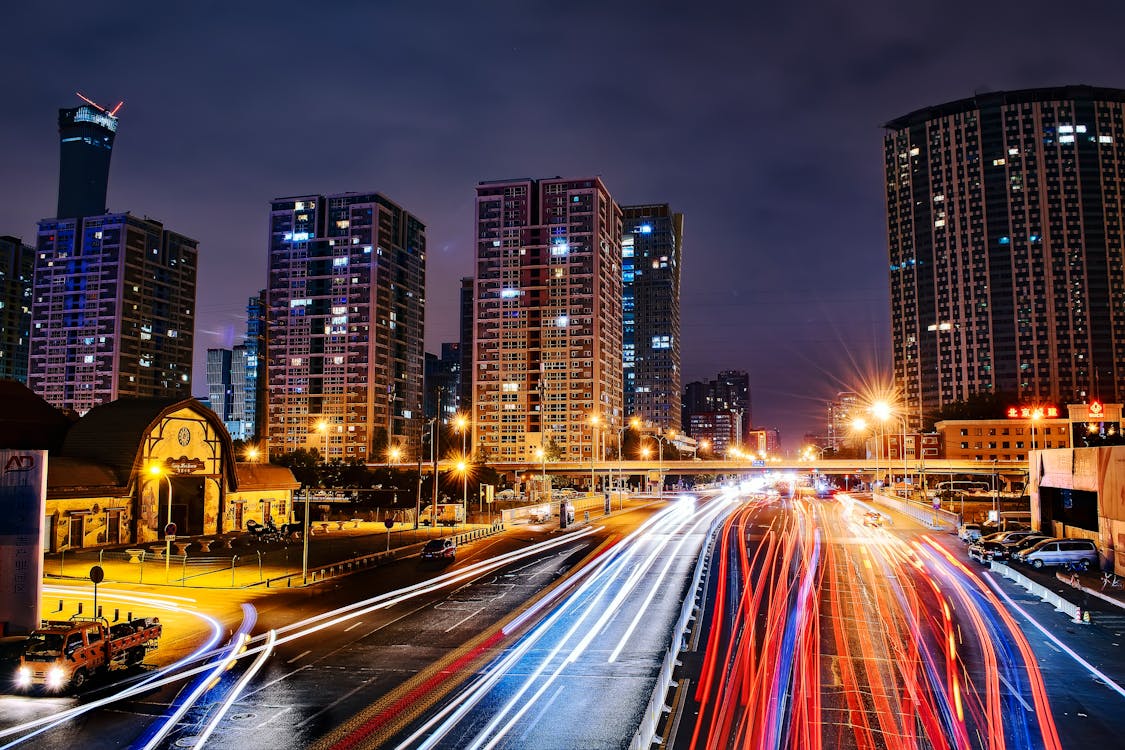
My camera settings would always involve the lowest ISO number, and an aperture (or f-stop) between f/8 and f/11, depending on the lens’ sweetest aperture range for architecture photos. The shutter speed will always be based on the effect and exposure I need. I don’t have to try hard to get a light trail if it’s a long exposure. If a vehicle passes through the frame, I will get my light trail.
Check this out for more information on the best ISO setting for low-light photography.
Now about long exposure during the daytime.
ND filters are a great tool, and they come in handy in many shooting situations. But for this specific genre of photography, you can use ND filters to capture long-exposure photos of an architecture piece and, in doing so, eliminate the people in the scene.
How to use an ND filter in architectural photography?
Speaking of long exposures, how do you use a very slow shutter speed on a very bright day? Let’s say your aperture value is maxed out at f/32 and ISO at 100, while your spot meter gives a reading of 1/30 seconds…to be able to use a long exposure in such a scenario; photographers use Natural Density or ND filters.
ND filters are dark glass filters that can reduce the light by many stops. They are available in values that denote the fall in light. For example, an ND 8 filter would reduce the light by 8 stops! In this case, a 1/30 shutter speed would turn into 8 seconds (1/15, 1/8, ¼, ½, 1, 2, 4, 8…)!
Using the Auto Exposure Bracketing technique
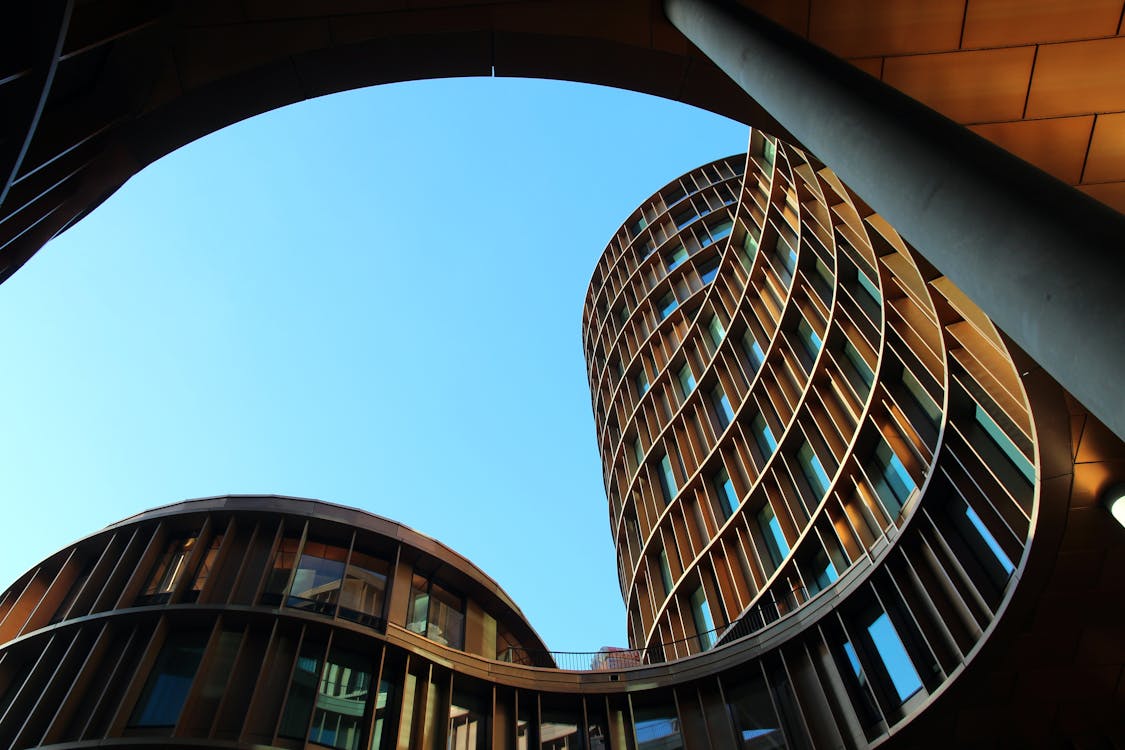
You could use multiple exposures to balance out a bright sky and combine the images to produce a single High Dynamic Range (HDR) photograph. This technique is extremely useful for architecture photography, real estate, and landscape photography.
What you’ve to do is set up your camera on a tripod and use the Auto Exposure Bracketing method. Choose at least three shots to give you some room to post-process afterward. Set the exposure differences between each shot.
On some cameras, you may have to choose one of the continuous shooting modes to ensure that the camera captures the bracketed frames continuously, one after the other. We’ll discuss the Auto Exposure Bracketing mode at some other time in detail.
Once you hit the shutter release, the camera will capture the frames on its one with the selected exposure differences.
How to incorporate human elements in architectural photos?
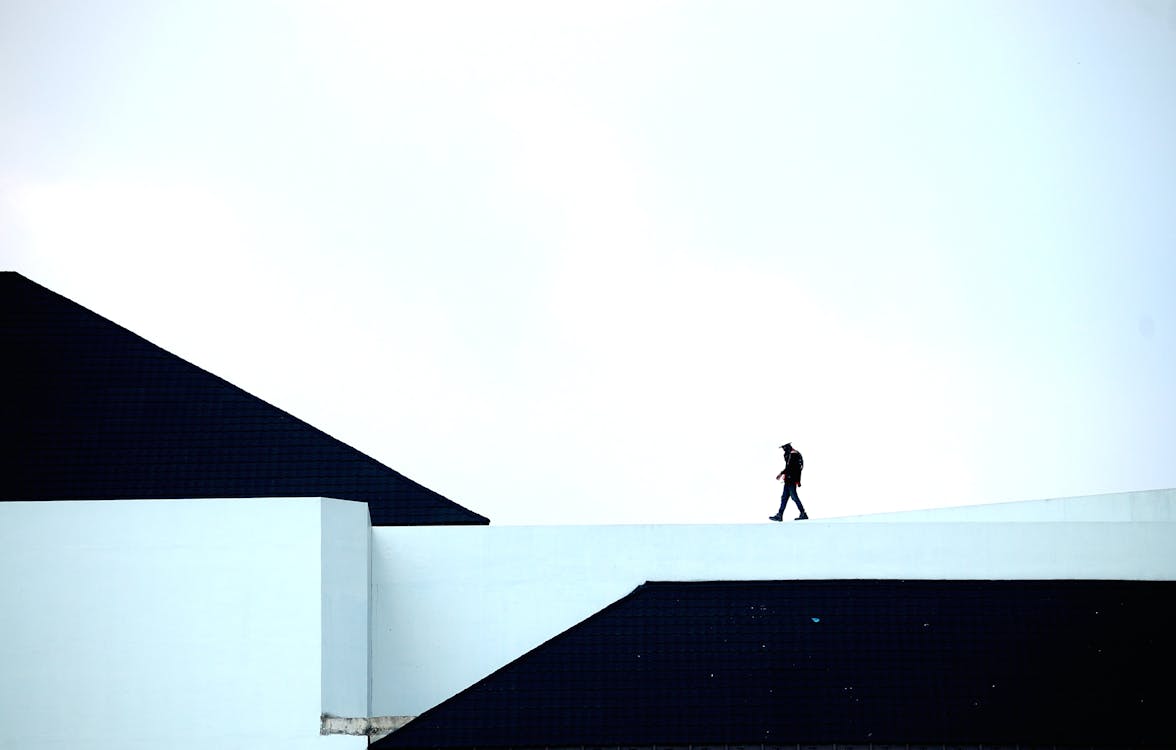
While some clients may request images without people, in other cases, a human element adds a nice touch, especially with interior images of resorts, etc. Unlike with other forms of photography, the model needn’t be the source of interest in architectural photography, but when you add the human touch by posing them as one of the elements in the frame, it can lift the whole composition.
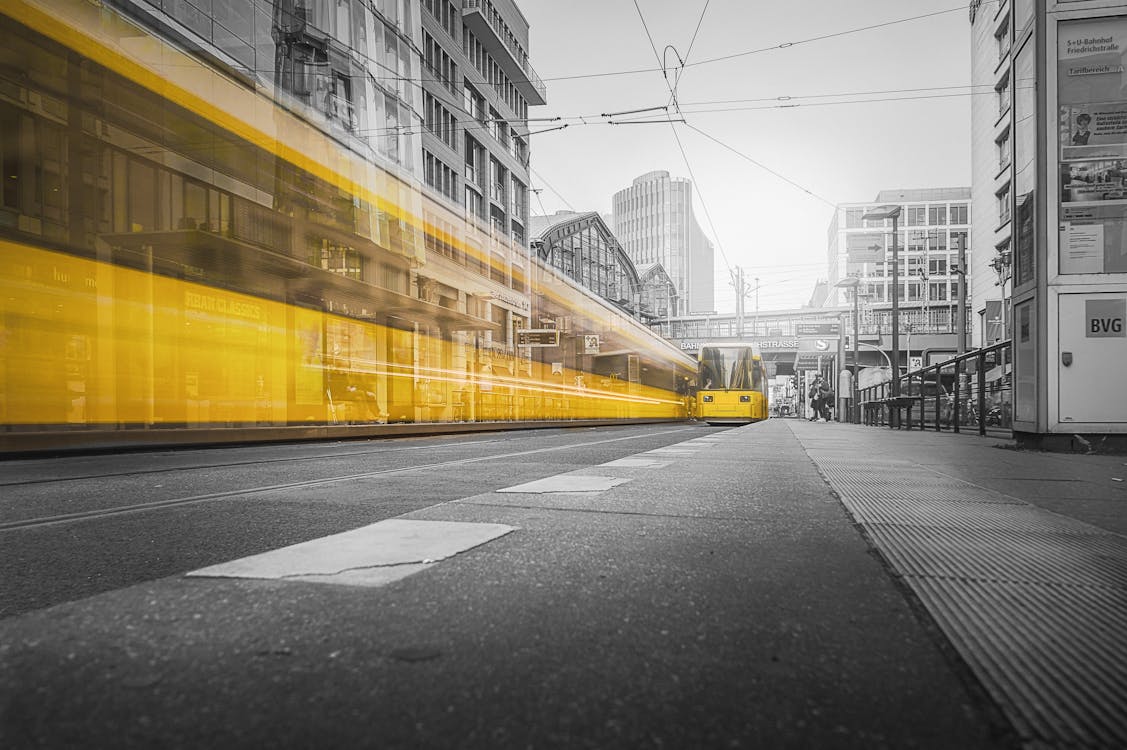
You could also choose to show movement by using a long exposure where you have people moving across the frame; they’d come out as a blur, depicting motion!
Other than including people, you could also include human-made elements. These could be vehicles, clothes, gadgets, or anything that adds relevant value to your images.
Post-Processing
Post-processing is the final draw of the straw where everything comes together. All the time is taken to set up your shot, the careful calculation of exposure, and the effort that goes into the process of image-making culminate in your image taking final shape.
You can use any software for post-processing your images as long as it can handle RAW images. This is because I recommend using the RAW format for shooting architecture photography.
My preferred software for light editing work is Lightroom and Luminar Neo. For advanced editing, you can use Photoshop. For noise reduction, you can use Topaz Labs DeNoise AI. Luminar Neo also has a very powerful noise reduction tool built-in, known as Noiseless AI.
Focus on making sure that your highlights are not blown out. This is something that you’ve to keep in mind also at the time of shooting your images.
Don’t forget to use the perspective and aberration controls to ensure that any distortions and aberrations are taken care of.
Also, make sure that your shadows don’t have a lot of noise in them when you salvage the details. You can always use the advanced noise reduction tools I have mentioned above to handle the noise.
Final Thoughts
To conclude, we believe the world of architectural photography is a captivating realm that offers a multitude of opportunities for both personal and artistic growth. I have friends who have trained to become architects and it can take 10+ years to become fully qualified. By becoming a photographer focusing on architecture you can get up to speed much quicker!
Through this beginner’s guide, we have explored the fundamental aspects of architectural photography, from understanding architectural styles to mastering composition, lighting, and post-processing techniques. We have delved into the significance of capturing details, textures, and the human element within architectural spaces.
You are hopefully now equipped to embark on your own photographic journey, unlocking the stories and emotions hidden within the architectural marvels that surround us. So, go forth with your camera in hand, and enjoy the architectural photography journey. And remember the more you practice, read and learn about others in this field, the better your photography will get.


