
This is a question that does not have a straightforward answer – which are the best hours for photography? That said if you ask a professional photographer for the best time of day for photography, 99 times out of 100, they will say it’s the golden hour. The golden hour is widely considered the best time during the day when the light is perfect for portraits and other types of photography. If you don’t have an artificial light source such as a strobe or a speed light, the golden hour gives you the perfect lighting to experiment with your portrait photography ideas. And why just limit yourself to golden hour photography alone?
The golden hour is not the only time you can shoot outdoor photography. There are other best hours for photography throughout the day when you can shoot. There is the blue hour, and you can also shoot outdoor photography when it is overcast. In this discussion, we’ll look at all these supposedly best hours for photography from the beginner’s perspective.
The golden hour, if described for a beginner, is that wonderful time of the day, about 10 mins before sunrise and 20 mins after the sun rises. There is a second phase of the golden hour that happens during sunset. That’s about 20 mins just before sunset and about 5 minutes after sunset before the light goes complete. This, however, depends on the latitude you live in. So, it tends to vary a little depending on your location. We’ll come to that some other time.
Early morning

Let’s start with the time of the day when the sun hasn’t arrived on the horizon. That means at the crack of dawn just before sunrise. It is a wonderful time of the day and one of my personal favorite times to shoot. You can just start to make out details in the landscape, the birds are singing, and the world is slowly waking up to start its day. Any shot you take must be well prepared as the light is constantly changing at this time of the day. During this time of the day, the natural light is very soft. But at the same time, the light is insufficient.
Professional photographers using this light would be looking to use a camera with a high noise threshold. There are camera systems that are almost noise invariant. These cameras can shoot at insane ISO levels, yet there would be no significant noise impact on your images. We will discuss those in a separate discussion.

Amateur photographers using entry-level camera systems and looking to capture images during the early morning or later afternoon would have to push the ISO high to get decent exposure. Alternatively, they will have to mount their camera on a tripod and slow down the shutter speed to compensate for the lack of light, which is a good idea even if you are not shooting landscape photography.
If you are shooting outdoor photography with the golden hour light, there is no ideal time as the light stays beautiful for most of the golden hour time slot. Albeit, the nature of the light as well as the light intensity, changes as time goes on. As a photographer, you need to adjust to the light value and camera settings (i.e., exposure settings) after every few minutes. Either you have to adjust the shutter speed, change the ISO, or do both to incorporate the changing light.
Working in Harsh midday sun
The harsh midday sun produces a harsh light that is often considered an impediment to shooting outdoor portraits and other kinds of outdoor photos. This is because this is the time of the day when direct sunlight falling on a subject can produce hard shadows. No one likes hard shadows on a subject. However, you can still work with such a light if you use a few tools and adopt a few techniques. Let’s get to it.
Use a reflector or a foam core
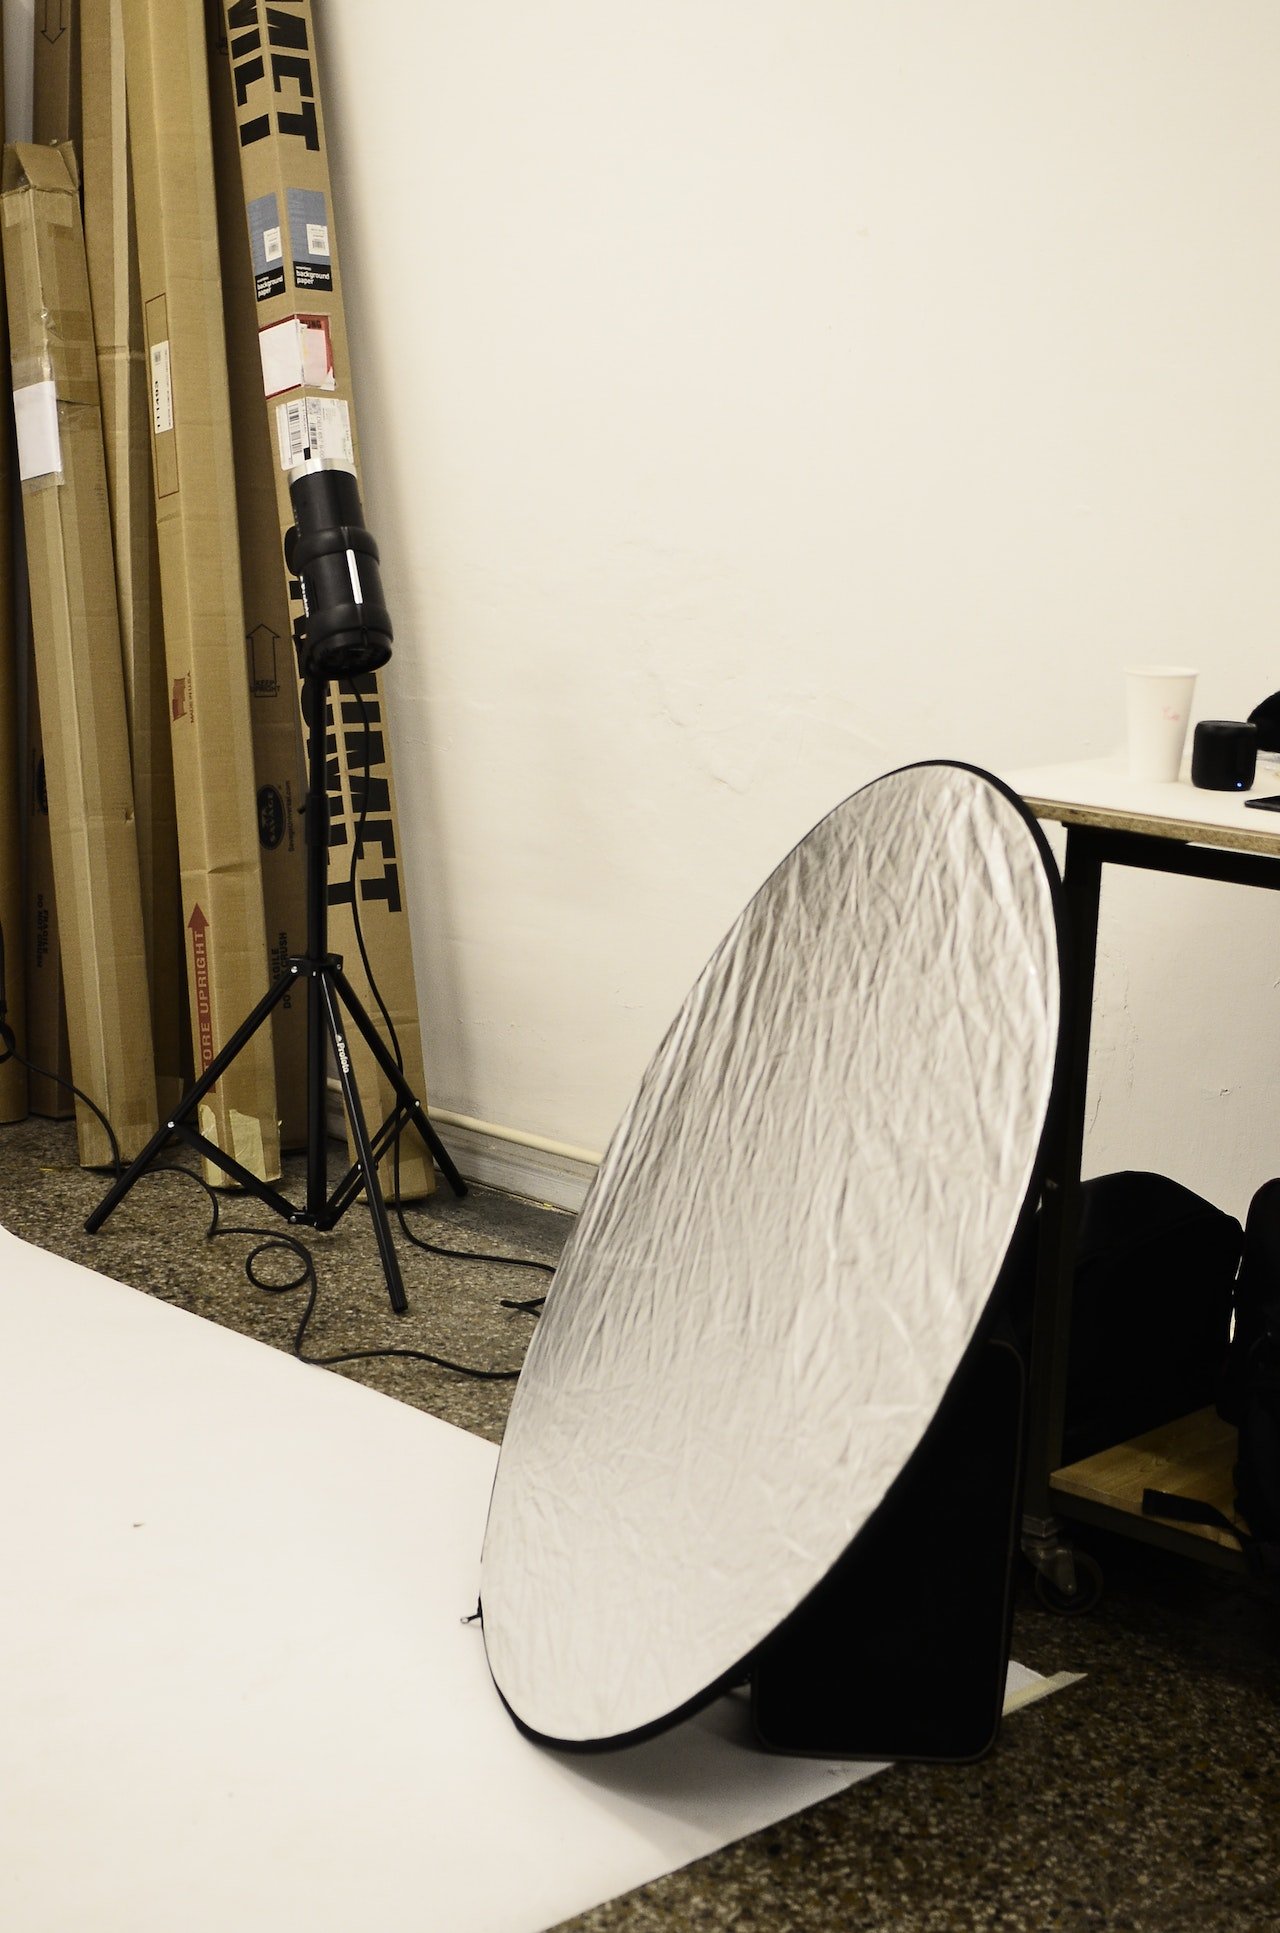
A reflector or a foam core is a great way to reflect some light onto a subject. It is an inexpensive way to ensure you can shoot outdoor portraits even when the light is not entirely suitable. Simply hold the foam core/reflector aimed at the subject, and you will see that the shadows are filled in. Ideally, the foam core should be placed opposite the sun so as to serve the purpose of fill light.
Shoot against the sun
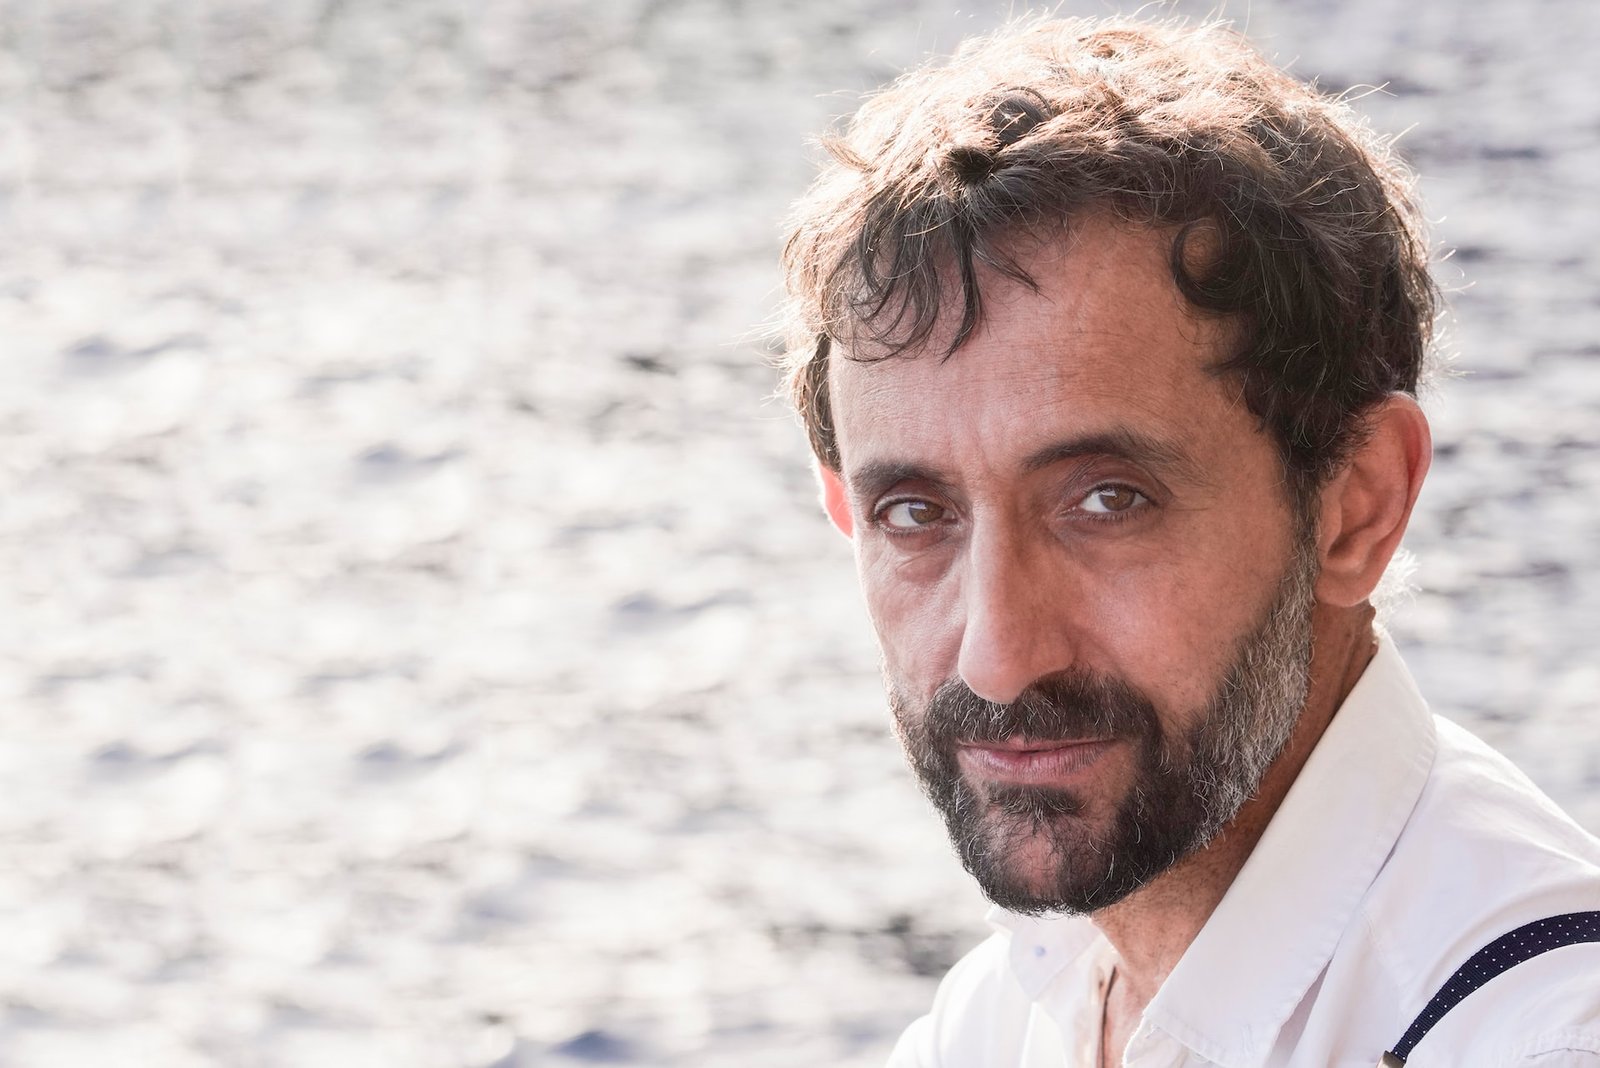
Sometimes, in the urgency to shoot during the best times of the day (i.e., golden light), we tend to overlook that shooting in golden light can sometimes be a bit difficult as well. Especially when the sun has risen much higher up from the horizon, and the sky is very bright. If you look at the best golden hour photos, you will realize that not all of them are shot with the subject facing the sun. Many of the shots are shot with the sun directly behind the subject. That means the subject is backlit, and the sky is brighter than the face of the subject. This is done to produce a beautiful sun-kissed effect, also called rim-lighting.
How do you create this effect? It is very easy to create this effect. You need to place the subject facing the camera with the sun behind the subject. There are two distinct ways to compose this. You can either choose to place the sun in the frame or you can choose not to put the sun in the frame. This will depend on the lens and the ability of the lens to avoid flares and ghosting. This is because once the sun is in the frame, all hell’s going to break loose. A good lens with multi-layer or Nano crystal coating can suppress the effects of lens flare and ghosting and capture beautifully backlit photos.
On the order hand, if you have an inexpensive lens that does not come with adequate prevention for ghosting and flares, then it is better off that you don’t try this. It will be better to place the sun off the frame. You can also use a lens hood as a great option to prevent ghosting and flares.
Shoot on overcast days
The advantage of the golden hours is that the light is very soft despite being directional. A cloudy day is also a great opportunity to shoot outdoor portraits, mainly because the quality of light is soft and not directional. If it’s overcast, it’s one of the best times of day to shoot portrait photos. The reason is the light does not change suddenly, and you have plenty of time to compose and shoot. Even if it is high noon when originally, it can be very distracting to shoot (we shall come to shooting at high noon shortly). With an overcast sky, you don’t feel the pinch associated with hard lighting.
On an overcast day, the shadows are negligible, and the lighting is very soft, resulting in flattering results. This is also why professional portrait photographers prefer to shoot outdoor portraits on overcast days.
How to use a Speedlight when shooting at high noon
As a photographer, you cannot expect to shoot at the golden hour of the day at all times. Even though it is the best time of the day, you simply cannot avoid shooting on a sunny day and without any shade to work with. As you can imagine, shooting on a sunny day and especially if you are shooting at high noon, means you are going to get a lot of hard shadows on the subject’s face. Shooting at noon is difficult for even landscape photographers because there is a lack of contrast, and the colors are often muted.
A good way to handle a lighting situation like this is to shoot against the sun. If the sun is higher up in the sky, ask your subject to stand with their back against the sun. The resulting shadow will cover the face and create a soft light effect that produces much better results than the hard light of the midday sun.
Shooting against the sun does something else: it prevents the squinting eyes that your subjects are likely to have when they are looking into the sun.
But the best way to handle this lighting is to use a Speedlight. Even if the Speedlight is mounted on your camera, you can shoot flattering portraits once you fill in the shadows and create a semblance of uniform lighting. We have already seen how a foam core or a reflector can help in such a situation.
One way to improve the result when using a Speedlight is to use it off camera. Setting up the Speedlight off camera allows you to maneuver the light, take it closer to the subject or fire it from the side. Using the Speedlight closer to the subject will help you to catch the reflection of the light on their eyes, essentially creating what is known as catchlight. Once you have the catchlight on your subject’s eye the result will be much better than when there is no catchlight.
Use of a Speedlight when the light is slanted

A speedlight can also be used from the side, which creates a beautiful lighting effect. Especially if the sun is also lower on the horizon. Let’s say you are shooting at around 8.30 in the morning, and the sun is lower on the horizon. The light is slanted; therefore, if your subject is standing at an angle of 90 degrees to the light, the shadows will be pronounced.
To counter such a situation, you could try and shoot with the speedlight on the camera. But the best way to counter the sun’s position is to fire the speedlight from the opposite angle to the sun. That will ensure that the light compensates for the hard light of the sun.
Alternatively, you could use a foam core to compensate for the hard light, throwing back some light on to the face and fill in the shadows. But the best result is always achieved using a speedlight.
High noon and shade

Another way to counter the problem of hard shadows on the subject’s face is to look for some shade to shoot in. Yes, we could shoot with the sun behind the subject but that does not always work the right way. Even overpowering the sun using an off-camera flash sometimes doesn’t get the right results.
If we can find a shaded area, such as a large tree or a building that gives some open shade, we can place the subject in the middle of the shaded region and then use the open space as the background of the picture. If the subject is too far into the shot, the subject’s face will appear darker and then you will have to compensate for that. The result will be that the background will appear washed out.
White balance setting

White balance settings are an important aspect of working with ambient light. The color of light changes throughout the day. The warm light has a golden hue as the right rises in the east. As it continues its journey across the sky, the color changes and becomes whiter, and then towards the late afternoon, it again starts changing to a golden hue. Adapting to the changing lighting conditions takes a little bit of work for every photographer.
To make the perfect shot, it becomes imperative that you consider the type of light you are shooting in and then adjust to it. White balance adjustment is easy once you know what to look out for. Let’s say that you are shooting in the middle of the day. It is an outdoor portrait session, and you are trying to use the available overcast conditions.
Take a shot of a white piece of paper or a white target and use that as the reference point for your images from that session. Make sure that you fill the entire frame using white paper. Then, feed that to your camera’s custom white balance settings. Now go ahead and shoot in the same light using the custom white balance setting.
You must redo these steps every time the light changes to ensure that your camera has the right White Balance settings dialed in. Alternatively, you could shoot the images and correct the white balance in post. But the only problem with doing that is you will have to eyeball the adjustment. This is difficult and takes more effort.
Night Photography
Night time is another great time to capture some fantastic images. I think these photos have a look and feel all to their own. Some photographers say this is the perfect time of day to shoot given the light doesn’t change and you have lots of scope to experiment with your photography. No question taking photos at night requires more preparation and more tweaking of settings to get that great shot. Experiment with opening your Aperture more, slow the shutter speed and play with your ISO to get this right (our advice is to start with a High ISO).

A pastime favored by many is star photography (also known as astrophotography) and this is usually done far away from cities and towns where there is too much unnatural light being given off. Again, the setup is crucial to make sure that you get a worthwhile shot.
Too often light pollution makes a photo look like a haze of lights reflecting in the atmosphere. You need a long exposure and a real attention on the focus. You may have noticed when people look at stars through telescopes that they are well placed, the equipment is all set up meticulously and they are still to get the perfect view, well the same rules apply for photography.
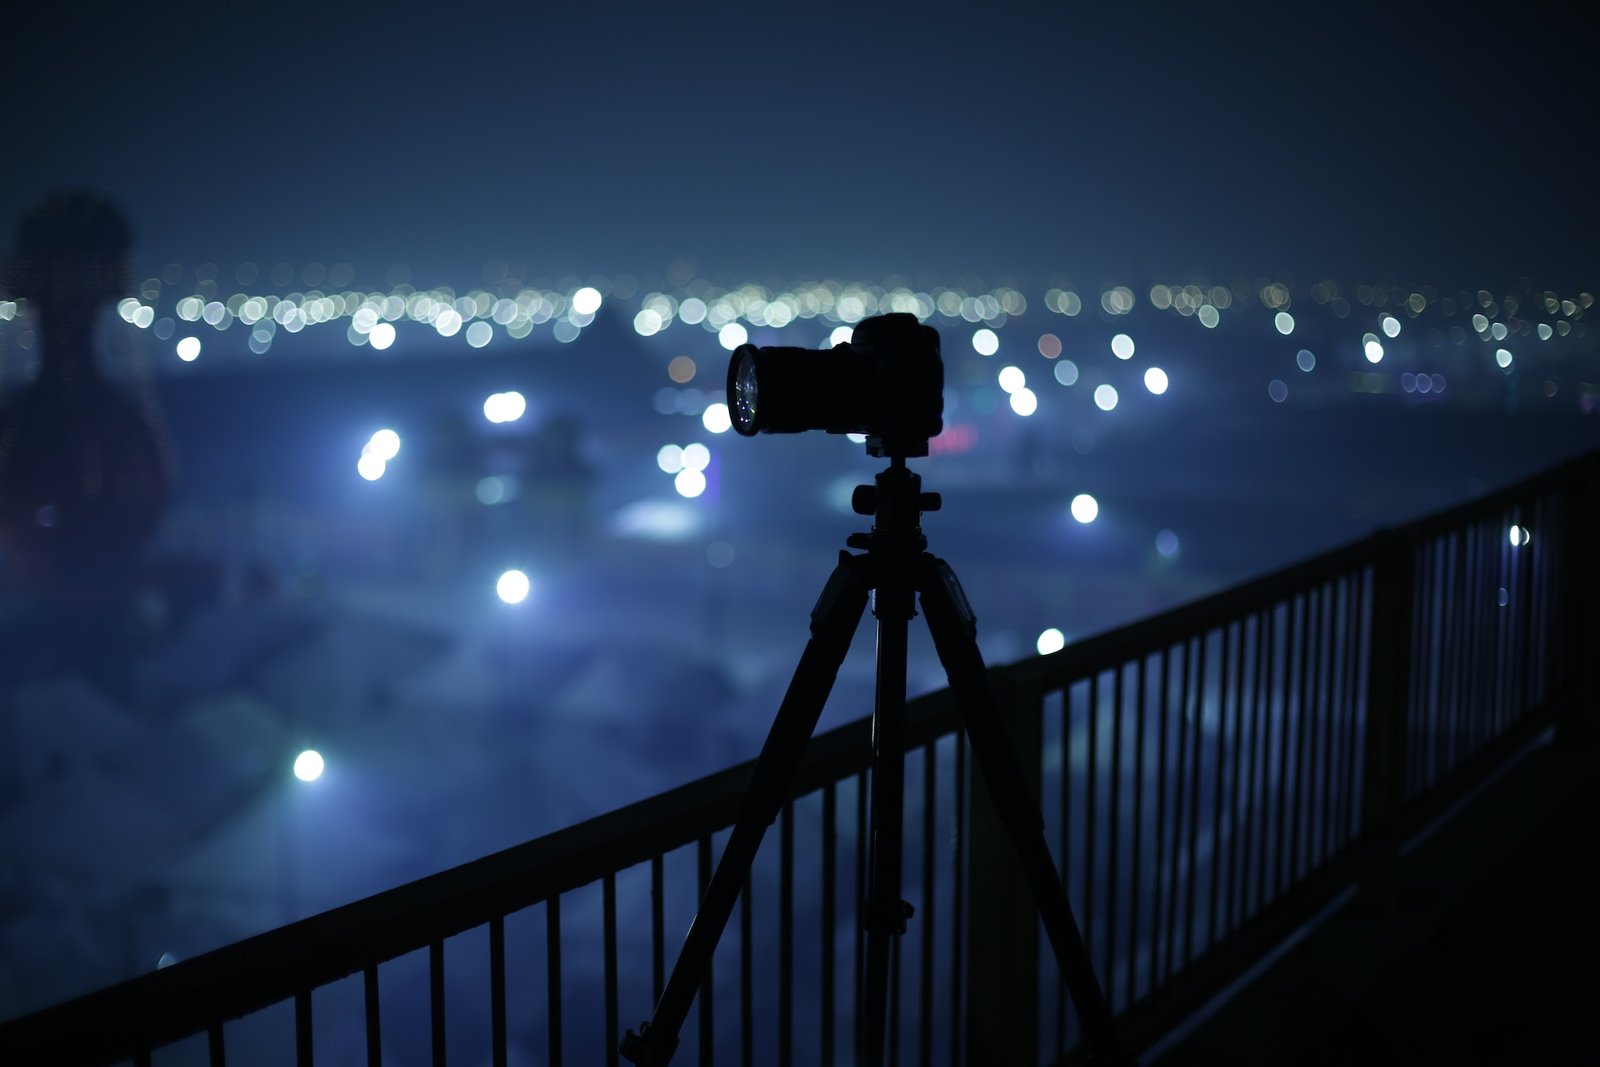
The camera must be as still as possible. In our experience, we have used a cable to take the photograph so we do not need to actually touch the camera. A good tripod (this is one we use here at PR) is helpful to keep the camera still as well. The wind is also not a photographer’s friend at night, a basic way to stop this is to use a backpack or something else heavy to weigh the tripod down to prevent movement or you can try and create a windbreak with a jacket or sleeping bag (if you have one!). In short, you need to limit movement and keep the camera as still as possible to get the best shot. Try and time your photography with an astrological event, be it a meteor shower, lunar eclipse or a new moon to get some amazing shots.
Our overriding advice for nighttime photography is to work at a slower pace, get the set up right and be patient and enjoy the results, they might surprise you!
Experiment beyond the best hours for photography
The beauty of being a photographer is that we can experiment with our photography and sometimes it works out better than planned. If we all took the same photographs in the same style the world would be a boring place. Go out and take pictures in the rain or a cloudy day, try shooting with a narrow aperture if you normally use wide open shooting. Try different focal lengths, lens or color tones. It is better to have tried and you may be pleasantly surprised with the results you achieve with your photo session.
Conclusion
Our conclusion is there really isn’t any one best time for taking the best photographs as every photographer is different. Our view here at Photography Revision is it depends on what you are shooting and what you need to achieve from it? A wedding photographer will be after something very different from an outdoor photographer looking for the best shot in the wild at night. As a general rule if you were to ask most photographers, they will tell you that sunrise, sunset, and twilight are the best times for creating great photos as the light and conditions are most favorable. But do not be afraid to break boundaries and try new things, ultimately this will make you a better photographer.
Comments are closed.