
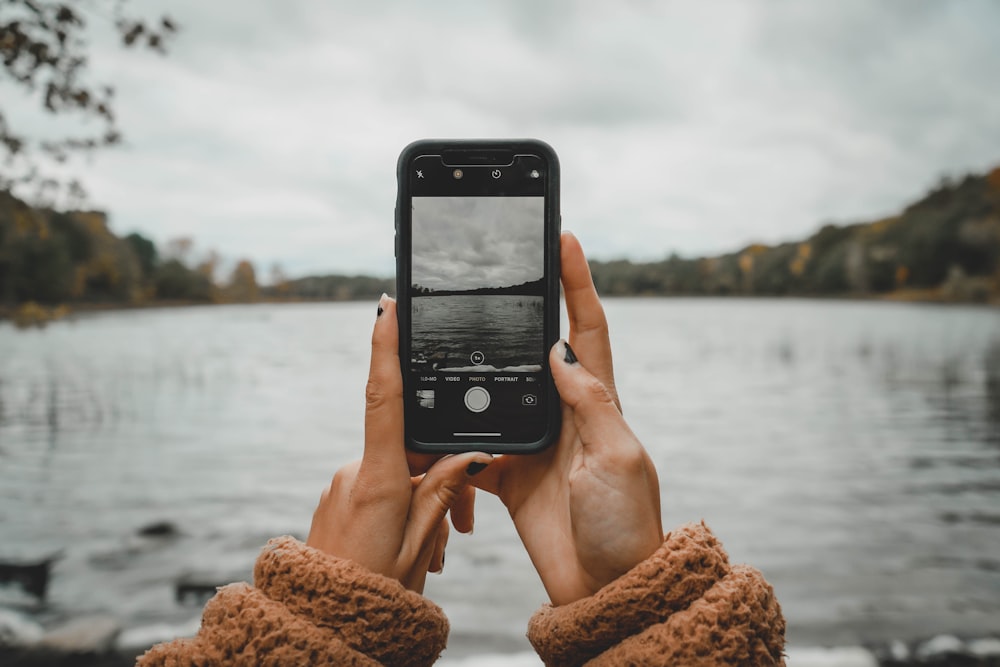
There are an estimated 1bn iPhone users worldwide so if you own one, you’re in good company. In the right hands it is a potent photography tool. This phone can shoot incredible photos that give even professional iPhone photography tips with a top of the range camera a run for their money.
However, not every picture we click with an iPhone is good. Some are disappointing and sometimes we get a blurry photo, which raises the question if the iPhone camera is so good, how come our images are not always the best? There are many reasons, sometimes the exposure is off, at other times the composition isn’t the best.
The thing is, the camera does not take images on its own. It’s merely a tool for image-making. Regardless of your camera, your skillset and command over photography techniques result in great photos. In this article, we’ll learn some of the most important things as it relates to taking great photos with our iPhones. By the time you’ve finished reading this, you will have gained enough confidence to get better results and shoot superb-quality photos with your iPhone every time you click the shutter button.
Simplicity vs Complexity
So much about photography is about keeping things simple. Do not overcomplicate your photograph, one subject is enough rather than a busy scene. Spend time checking the scene for too many distractions and take the time to get the perfect backdrop. Many photographers focus on minimalist photography when using an iPhone for the desired effect.
Choose the Correct Format
There are two significant formats on iPhone photography tips. The first one is High Efficiency, and the other is Most Compatible. High-Efficiency format produces HEIF files. It’s a file format used by Apple and isn’t compatible with the too many other devices you may wish to share your photos with.
Most Compatible uses the JPEG format. This web-ready and very popular format that both Apple and other platforms use.
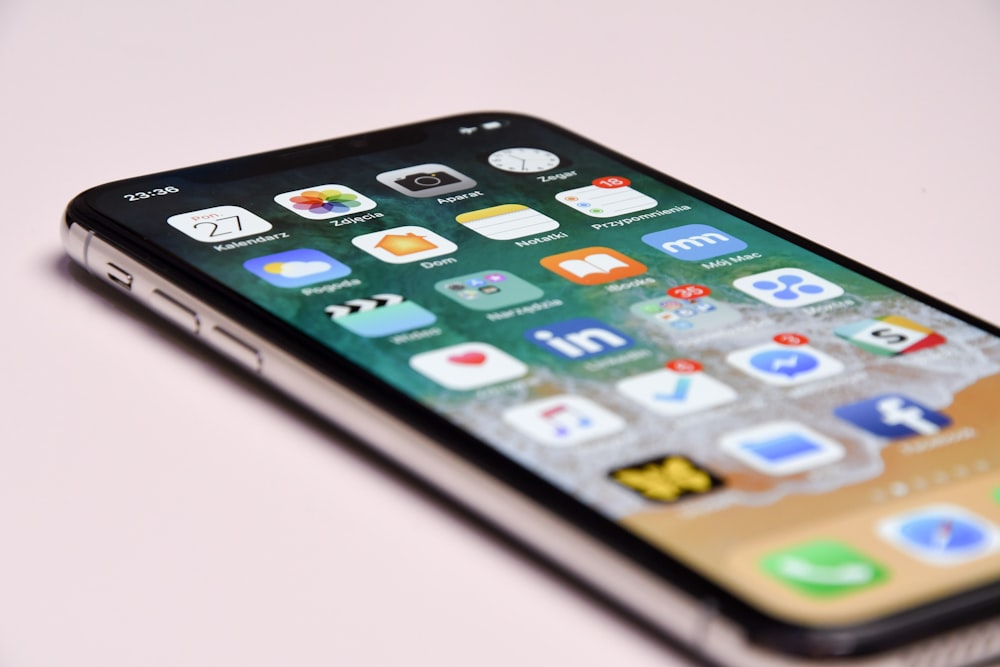
To toggle between these two options, open Settings on your iPhone and scroll down to the Camera icon. When you’re in the camera settings option, look for something that says ‘Formats.’ Clicking on formats will open up this option, and you can choose between High Efficiency and Most Compatible.
Which one should you prefer? Most Compatible is the way to go. Not only is it more compatible with more devices, but it also offers a lot more detail. Suppose you compare images shot in the High-Efficiency format with those shot in the Most Compatible format. In that case, you will notice that images in the latter format have a higher quality. Also, High Efficiency is a format that takes up more space when you use it to shoot pictures.
Manual exposure adjustment
Probably the easiest of method to spruce up your iPhone photos but is often overlooked because the iPhone’s default auto exposure mechanism is so good. Even an iPhone photography tip can get it wrong from time to time. i.e., the exposure bit. As a photographer, you can manually adjust the exposure settings to ensure that the image appears better. How to do it? Tap anywhere on the image and then drag the Sun icon up or down to increase or decrease the exposure. This process will ensure that the exposure is what you feel is suitable for the scene.
Use the exposure scale for Exposure Adjustment
Alternatively, you can use the exposure scale that appears when you click an arrow at the top of the display, followed by a (+-) icon. This Exposure Scale gives much more ‘scientific control’ over what you’re doing because the scale tells you how much you adjust the exposure in full stops and one-third stops. If you’re more enthusiastic about exposures and talk ‘stops’ more frequently than sliders, you will find this option to adjust the exposure a bit more to your liking.
Change only the exposure and not the focus
Tapping on your camera window not only changes the exposure but also changes the focus. When you want to focus on something and adjust exposure separately, it can be a problem. Is it possible to tap and focus and then change exposure separately? Yes, it is. Tap and hold to lock focus and with-it exposure, momentarily. Now run the slider up or down to change exposure.
Handheld long exposures using an iPhone? Why not!
Did you know that your iPhone has a long exposure mode? It allows you to shoot a long exposure photo without needing a tripod or an ND filter. All you need is your iPhone. Intrigued? To do this, you need to turn on the Live photo mode on your camera. Once you do that, the camera briefly shows the LIVE icon and then takes a series of images in burst mode. Now, go to your gallery and open the photo. You will notice the four Effects option underneath. Choose the last one that says ‘Long Exposure.’ It takes a bit of time to process, but in the end, the camera creates an image by merging all the images it has taken. Anything moving, such as water and cloud or vehicles, the camera will blur all those for a beautiful blurred out effect. Merging takes a bit of time because it aligns all the images perfectly, and while doing so, it has to crop out the areas that are not aligned.
Use the Live photo mode for choosing the best shot after
If you’re shooting portraits and the main subject in the shot isn’t very confident standing in front of the camera, you’re going to find it difficult to capture a perfect photo. The Live photo mode can help you get what you want even though you’re working with a shy model. Shoot with the Live photo mode on. Then afterward, choose edit in Live mode and choose among the series of frames your iPhone took the one frame that you feel is the best of the lot. There’s got to be at least one frame that you like.
Make the Pano mode work for you
Sometimes the setting is beautiful, but there is no way we can fit all the scene into one single frame. Think again. The Pano mode on your iPhone is designed to handle situations like this. Switch to the Pano. Next, flip your camera horizontally and swipe in the direction of the arrow. Let your camera record the image. You will notice that the camera does a much better job of stitching the multiple photos together and creating a large pano image of the setting than you could have using the wide-angle lens. Pro tip – the easiest way to get a good, clean photo is to be slow and steady when taking the shot.
Creative things you can do with the Pano mode
Did you know you can create a doppelganger effect with the Pano mode? Why stop at just one? You can make as many copies of yourself as you want. Here’s how. Hand over the phone to a friend. Ask your friend to Switch to the Pano mode. Pose for the camera. Let your friend start the exposure. As she slowly moves the camera to pan, run to the next spot and allow yourself to be recorded. Repeat as many times as you want. Stop the Exposure. You will have multiple versions of you in the image.
Use the Rule of thirds for your compositions
The Rule of thirds is one of the oldest and the most popular Rule of composition in photography. It applies to all kinds of photography, no matter your camera tool. Even an iPhone photographer can use the Rule of thirds to improve their compositions. The first step to using the Rule of thirds is turning on your phone’s grid. If it’s not already turned on by default, all you’ve to do is go to Settings on your phone, then to camera, and there look for something that says ‘Grid.’ Press the toggle button to activate this option. The next time you turn on your iPhone camera, you will find a three-by-three grid overlay on the screen. Sort of a tic-tac-toe grid, except that this is a Rule of thirds grid.
To use this grid in your composition, position the subject so that it falls on one of the intersection points (there would be four on the screen). The image will appear visually more appealing. How does that happen? We’ll discuss it in detail in a separate article on the Rules of composition.
Level the horizon line
I have seen far too many shots by amateur photographers using a mobile phone where the horizon line is slanting. There is a simple hack to ensure that your horizon does not appear slanting and everyone does not seem to tip over. Again, I go back to the grid we discovered in the previous tip. Align the horizon line with one of the horizontal lines, and you have a perfectly horizontal horizon. This technique works with many other compositions where there is a street curb, a staircase, a wall, etc.
Use the right lens for the job
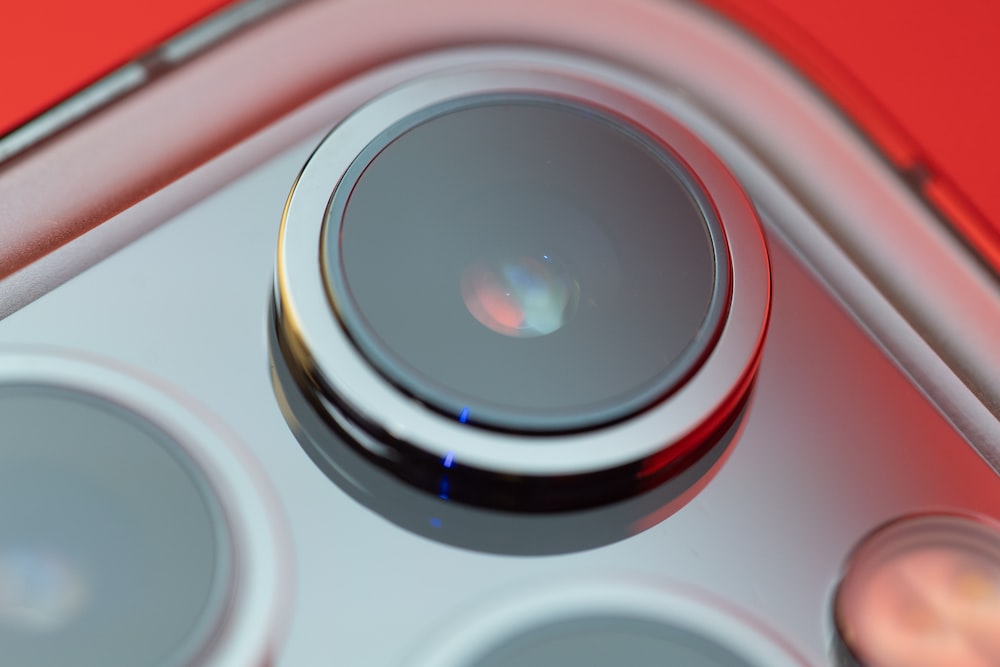
The latest iPhone 13 Pro Max (and the iPhone 13 Pro) comes with an array of three lenses. Just like the iPhone 12 Pro and the 11 Pro that came before it. There has always been (at least since the iPhone 11 Pro) a lens for shooting portraits, one for shooting wide-angle and the other for ultra-wide shooting. Choose the right lens for the job.
The telephoto lens is best suited for portraits. You would be forced to step closer to the subject with the wide-angle and ultra-wide-angle lenses. In doing so, you will notice that the subject’s facial features are distorted. You should instead step back and use the telephoto lens for shooting portraits.
Similarly, choose to shoot with the wide-angle lens when shooting landscapes and street photos, and you will have better photos.
We’ll look at the range of iPhone lens that are available for purchase in an future article, one of our team has used Amazon.co.uk : sevenka 6 in 1 lens kit 11 in 1 lens kit bundle and has found it to be a great starter lens kit.
Use the Portrait mode
Speaking of the portrait mode, The new iPhone 13 Pro has a beautiful portrait mode. This mode mimics the background blur possible with DSLR/mirrorless camera lenses, specifically fast aperture lenses. Although in the case of the iPhone 13 Pro, this effect is achieved with the help of software rather than the lens itself. In any case, it’s a wonderful tool to use if you love shooting portraits using your iPhone. Pro tip: make sure you are positioned far enough away from the subject (the screen will tell you) and you tap the screen where you want it to focus.
Leave space in the background when shooting portraits
One of the composition tips you can use when shooting portraits using the portrait mode is leaving some space behind your subject. The iPhone camera does not work the same way as a DSLR /mirrorless camera lens; the background blur isn’t created using the same technology; nevertheless, the portrait mode tends to work better when you leave space in the background.
It would help if you asked your subject to take a few steps away from the background, which should do the trick. When shooting, ensure that you’re shooting in ‘portrait mode’.
Also, the iPhone has several features available under the Portrait mode. One of these options, and a personal favorite, is the Studio Light. This comes right after the Natural Light option. This option is created using the built-in software of the iPhone. It mimics the lighting inside a studio environment.
When you’re shooting portrait photos, try using this mode to give your subject a much better (and a lot cleaner) look.
Work the light – how to shoot under hard light?
Most of us use the iPhone to shoot pictures without giving second thoughts to the quality of light. Photography is all about light – too hard or too low and your shot is ruined. Without light, there cannot be any photography. So it is essential to pay attention to the quality of light to capture good photos.
A typical situation is a bright sunny day, and you shoot a portrait picture of your partner. You ignored the light, and what you have is a portrait image with a lot of hard shadows. What you can do, in a situation like this, when the sun is right on top of your head, is to find some shade. You need a soft light that can only be produced when the subject is under some shade or turned away from the light source. So if the sun is slightly at an angle, you can ask your subject to turn away from the sun.
Work the light – what is the best light to shoot in?
What is a good light if the midday sun is a hard lighting source? The answer is – the golden hour light. Golden hour is half an hour or 45 minutes before sundown and half an hour or so just after sunrise when the light is warm yellow and travels almost parallel to the earth’s surface. This light is the best thing for shooting portraits, landscape, and a few other genres. For portrait photography you do not want low light; the golden hour lights are the best.
The Selfie
Now I am not the biggest fan of the selfie (even worse with a selfie stick!). After my kids have been on my iPhone I find hundreds of the things on my camera roll! I have never liked how the iPhone selfies flip after you take them – I know this is how it is meant to work but I find the photos are bad quality. I was shown a great way to take selfies by a photographer friend of mine. There is a setting to change the front camera mirroring. Simply go to Settings > Camera and scroll down to ‘Mirror Front Camera’ and make sure it is ‘On’ (green). This way your selfies will look more professional.
Final Thoughts
The joy of iPhone photography is that you don’t need a professional camera, it is in your pocket wherever you go. It is a great tool in the world of photography, not only does it take fantastic photos it can also record video. The above iPhone photography tips should give you enough confidence to start shooting better photos using your iPhone camera, it is even a good check list for professional photographers.
Make sure to review your images with the work of someone you admire as a photographer. Incorporate constructive criticism in your work and try new things. That’s the only way to become a better iPhone photographer and take amazing photos.
The Photography Revision team
Any questions – pls get in contact, we’d love to hear your thoughts as always. And if you are a beginner to photography check out our worksheets to learn more Photography Analysis Worksheets – Photography Revision
Comments are closed.