
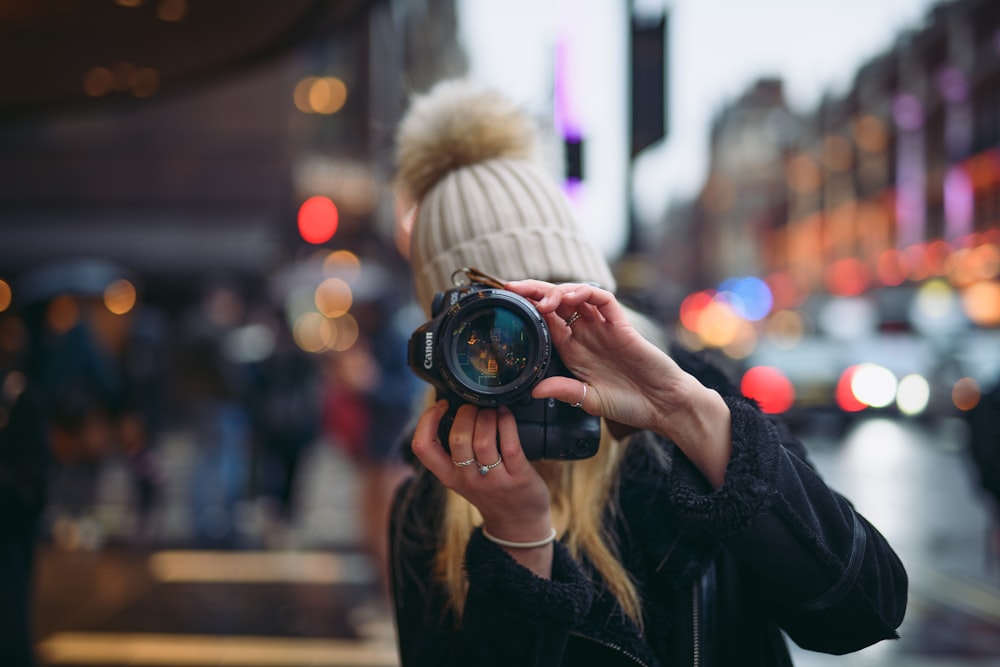
As a photographer, you always want to deliver the best to your clients. You want them to be satisfied with your work, and one of the ways to achieve this is through effective image proofing.
Image proofing is a process that allows you to showcase your work to your clients, obtain feedback, and make any necessary changes before finalizing the images. In this post, we will discuss what proofs in photography are, why they are essential, types of proofs, proofing tools and software, common mistakes to avoid when proofing, and frequently asked questions.

What are Proofs?
Proofs are pre-finalized pictures, often low-resolution images that photographers use to show clients. They are a collection of images that demonstrate the photographer’s skill, creativity, and vision. Imagine you are trying to select a photographer for your wedding day. You will want to see of the photographer’s previous work and this can be done by them showing you some proofs.
Proofs are not final images and primarily serve as a tool for photographers to showcase their work to clients, obtain feedback, and make necessary changes. They can be presented as a slideshow, online gallery, or prints.
Why do Photographers Use Image Proofing?
Image proofing allows photographers to present their work to clients in a professional manner, obtain feedback, and ensure that the clients are satisfied before finalizing their images. Proofing enables clients to provide feedback and suggest any necessary changes, ultimately ensuring that the final images meet the clients’ expectations. Additionally, proofing ensures that the photographer’s reputation is not damaged, and they can establish long-term relationships with their clients.

Types of Proofs in Photography
There are various types of proofs in photography, including:
- Print Proofs: These are physical prints of the photos that the photographer provides to the client. They are usually watermarked and not meant for display but for selection purposes. Print proofs give clients a tangible way to review and choose their photos.
- Digital Proofs: These are low-resolution, watermarked images that are usually sent to clients via email or shared through an online gallery. Digital proofs are convenient because they can be viewed on any device, anywhere, making them ideal for clients who may not be local.
- Contact Sheets: This is a traditional proofing method where small thumbnail images are arranged on a single sheet of paper. Contact sheets provide an overview of all the photographs from a shoot, allowing clients to quickly identify their favorites.
- Proof Books: These are similar to print proofs, but in book form. Each photo is printed on a page with space alongside for the client to make notes or comments. Proof books are an excellent option for large photo shoots such as weddings or events.
- Online Galleries: A modern approach to proofing, online galleries allow clients to view their images in a secure online environment. They can select their favorites, provide feedback, and even share the gallery with friends or family. Online galleries are particularly popular due to their convenience and user-friendly nature.
- Slideshow Proofs: These are a collection of images presented as a digital slideshow. This proofing method provides a dynamic and engaging way for clients to view their photos. Slideshows can include music and transitions, making the viewing experience more enjoyable.

How Are Proofs Created?
Proofs are created using post-processing software like Adobe Lightroom or Photoshop. After a photoshoot, the photographer selects the best shots and uploads them into the software.
The images are then optimized for color, contrast, and clarity to enhance their overall aesthetic appeal. This process is known as editing or retouching.
Once editing is complete, the images are exported in the appropriate format for the chosen proofing method. Print and proof book images are generally exported in high resolution, while digital proofs, contact sheets, and online gallery images are often exported in a lower resolution to facilitate easy sharing and viewing.
Slideshow proofs require additional software to create the slideshow effect, add music, and manage transitions. The completed proofs are then sent to the client for review and selection.

Proofing Tools and Software
There are numerous software and tools available for proofing, each with its unique features and capabilities. Among the most popular are Adobe Lightroom, Pixieset, and ShootProof, which offer robust options for photo editing, organizing, and sharing proof images. Personally, I use Adobe Lightroom, given its advanced editing features and seamless integration with Adobe’s suite of design tools. Lightroom’s proofing capabilities allow me to quickly and easily share images with clients, solicit feedback, and make necessary adjustments, all within the same platform. It’s this efficiency and versatility that make Adobe Lightroom an indispensable tool in my proofing process.
Is there an Alternative to Using Proofs?
Digital proofs are a popular alternative to traditional print proofs and are becoming more popular these days. They are easy to create, modify, and present, and they enable clients to view images remotely. Additionally, digital proofs can be organized into online galleries or presented as slideshows, making them a versatile alternative to traditional print proofs. This certainly works in a world where more and more people are working remotely and may not meet their clients.
Ultimately, the decision to use proofs depends on the client and the type of project. For some clients, a digital proof may suffice; for others, a traditional print proof may be necessary. Ultimately, it’s important to discuss options with your client and choose the best method for their needs.
Common Mistakes to Avoid When Proofing
In my experience, there are several potholes on the road to effective proofing. I, myself, have stumbled into a few and learnt valuable lessons in the process.
- Ignoring Clients’ Preferences: Early in my career, I would often select proofs based solely on my artistic judgment. However, I quickly realized the necessity of aligning my preferences with those of my clients. Now, I make sure to have a pre-shoot discussion about their expectations.
- Neglecting to Watermark Proofs: Once, I sent out proofs without watermarks and later found one of my images on a client’s social media, uncredited. Since then, I ensure to place subtle, non-disruptive watermarks on my proofs to protect my work.
- Over-editing Images: In my eagerness to deliver perfect images, I sometimes over-edited my proofs. This led to a loss of the image’s natural aesthetic and created unrealistic expectations for the final product. I now focus on subtle enhancements to respect the integrity of the original capture.
- Not Organizing Proofs: Not arranging proofs in a logical, easy-to-navigate order can confuse clients and slow down the process. I learnt this the hard way. Now, I take time to categorize and sequence my proofs for a more streamlined review process.
- Lack of Communication: In the past, I’ve made the mistake of not clearly communicating the purpose of proofs, leading to misunderstandings about the final images. I’ve since grown to emphasize the iterative nature of the proofing process, setting clear expectations from the get-go.
And by the way, I am not perfect now, I just wanted to share some of my learnings!

Frequently Asked Questions
How many images should I include in my proofs?
There is no set number of images that should be included in a proof. However, it’s recommended that you include your best work and showcase your creative vision.
Should I include all of the images I shoot in my proofs?
No, you should only include the images that meet your standards and showcase your creative vision. Additionally, you should consider your client’s preferences when selecting images.
What is the typical turnaround time for proofs?
The turnaround time for proofs can vary depending on the scope of the project and the photographer’s workflow. However, typical turnaround times can range from a few days to a couple of weeks. Always ensure to communicate the expected timeline to your client to set clear expectations.

Final Thoughts
So, there you have it, folks! A peek behind the lens into the wild, fast-paced world of photography proofs. I’ve made a few blunders along the way (who knew that organizing proofs could be as complicated as assembling IKEA furniture without instructions!). But every misstep has been a stepping stone to improving my workflow and delivering an experience as smooth as that first sip of morning coffee. Remember – the proofs are in the pudding… or was it the print? Either way, happy shooting, and may your proofs always be proof of your camera wizardry!
You may also enjoy reading How to Grow Your Photography Business – Top Tips From a Professional – Photography Revision