
We are fascinated by nature and trees and we believe forests are enchanting subjects for photography. In addition to offering visual appeal, photographing natural wonders promotes well-being and a connection with the environment we live in. The purpose of this guide is to explore techniques, tips, and the joy of creating visual stories in nature through the art of capturing the essence of trees and forests through photography.
How to Photograph Trees and Forests
Become an expert at photographing trees and forests
It is often associated with grand landscapes and famous vistas when it comes to landscape photography. Just like anyone else, I enjoy a beautiful sunset from a vantage point with impressive mountains in the background. I have traveled around the world several times to capture such a scene.
It can be difficult to find a scene to capture if you have to travel across the world to find it! Once you see the scene, you may find that you aren’t alone and that it has been photographed so many times before that your masterwork will be hard to distinguish from thousands of others.
There are, of course, grand vistas out there that you can enjoy, but you get the idea. Many famous, grand landscapes have been photographed so many times that creating something new is almost impossible. We live far from countless undiscovered, spectacular viewpoints.
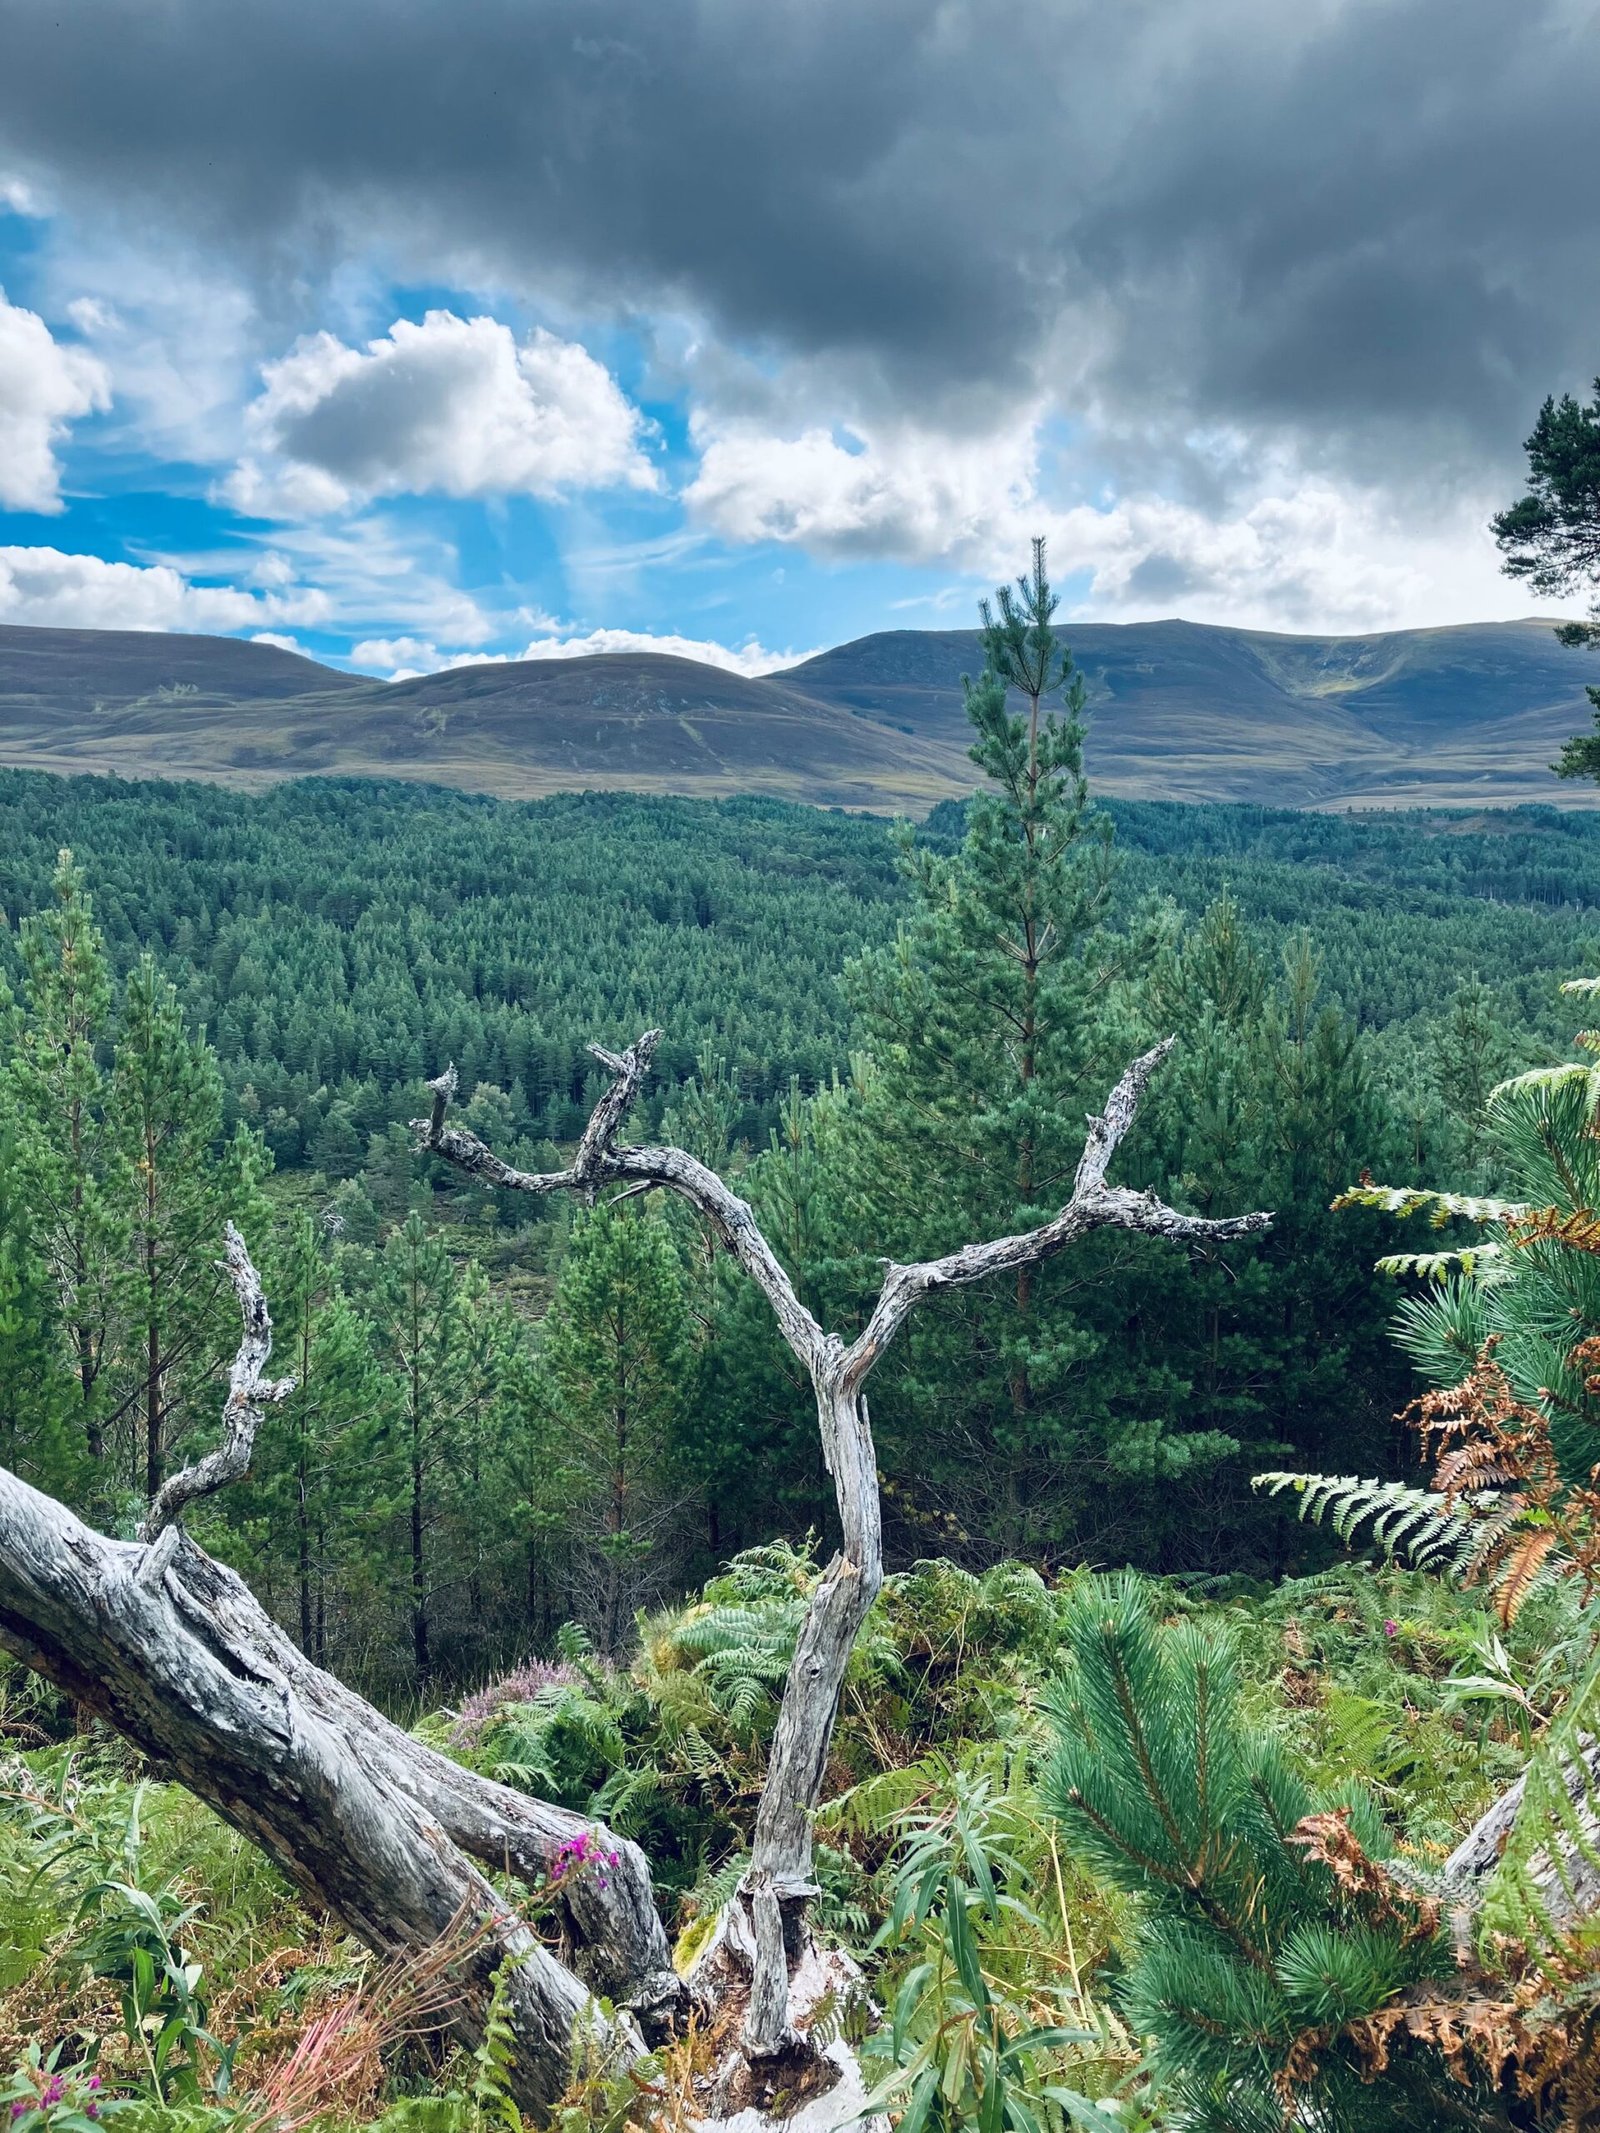
Although I live in the UK, which is well known for its mountains, waterfalls, fjords, and aurora borealis, I still find that the opportunities are limited and that it may be difficult to create a grand vista with a ground-breaking touch. After Ireland, the UK is the second least wooded country in Europe unfortunately
. In my area, there are mostly woodlands dominated by Norwegian spruce trees.
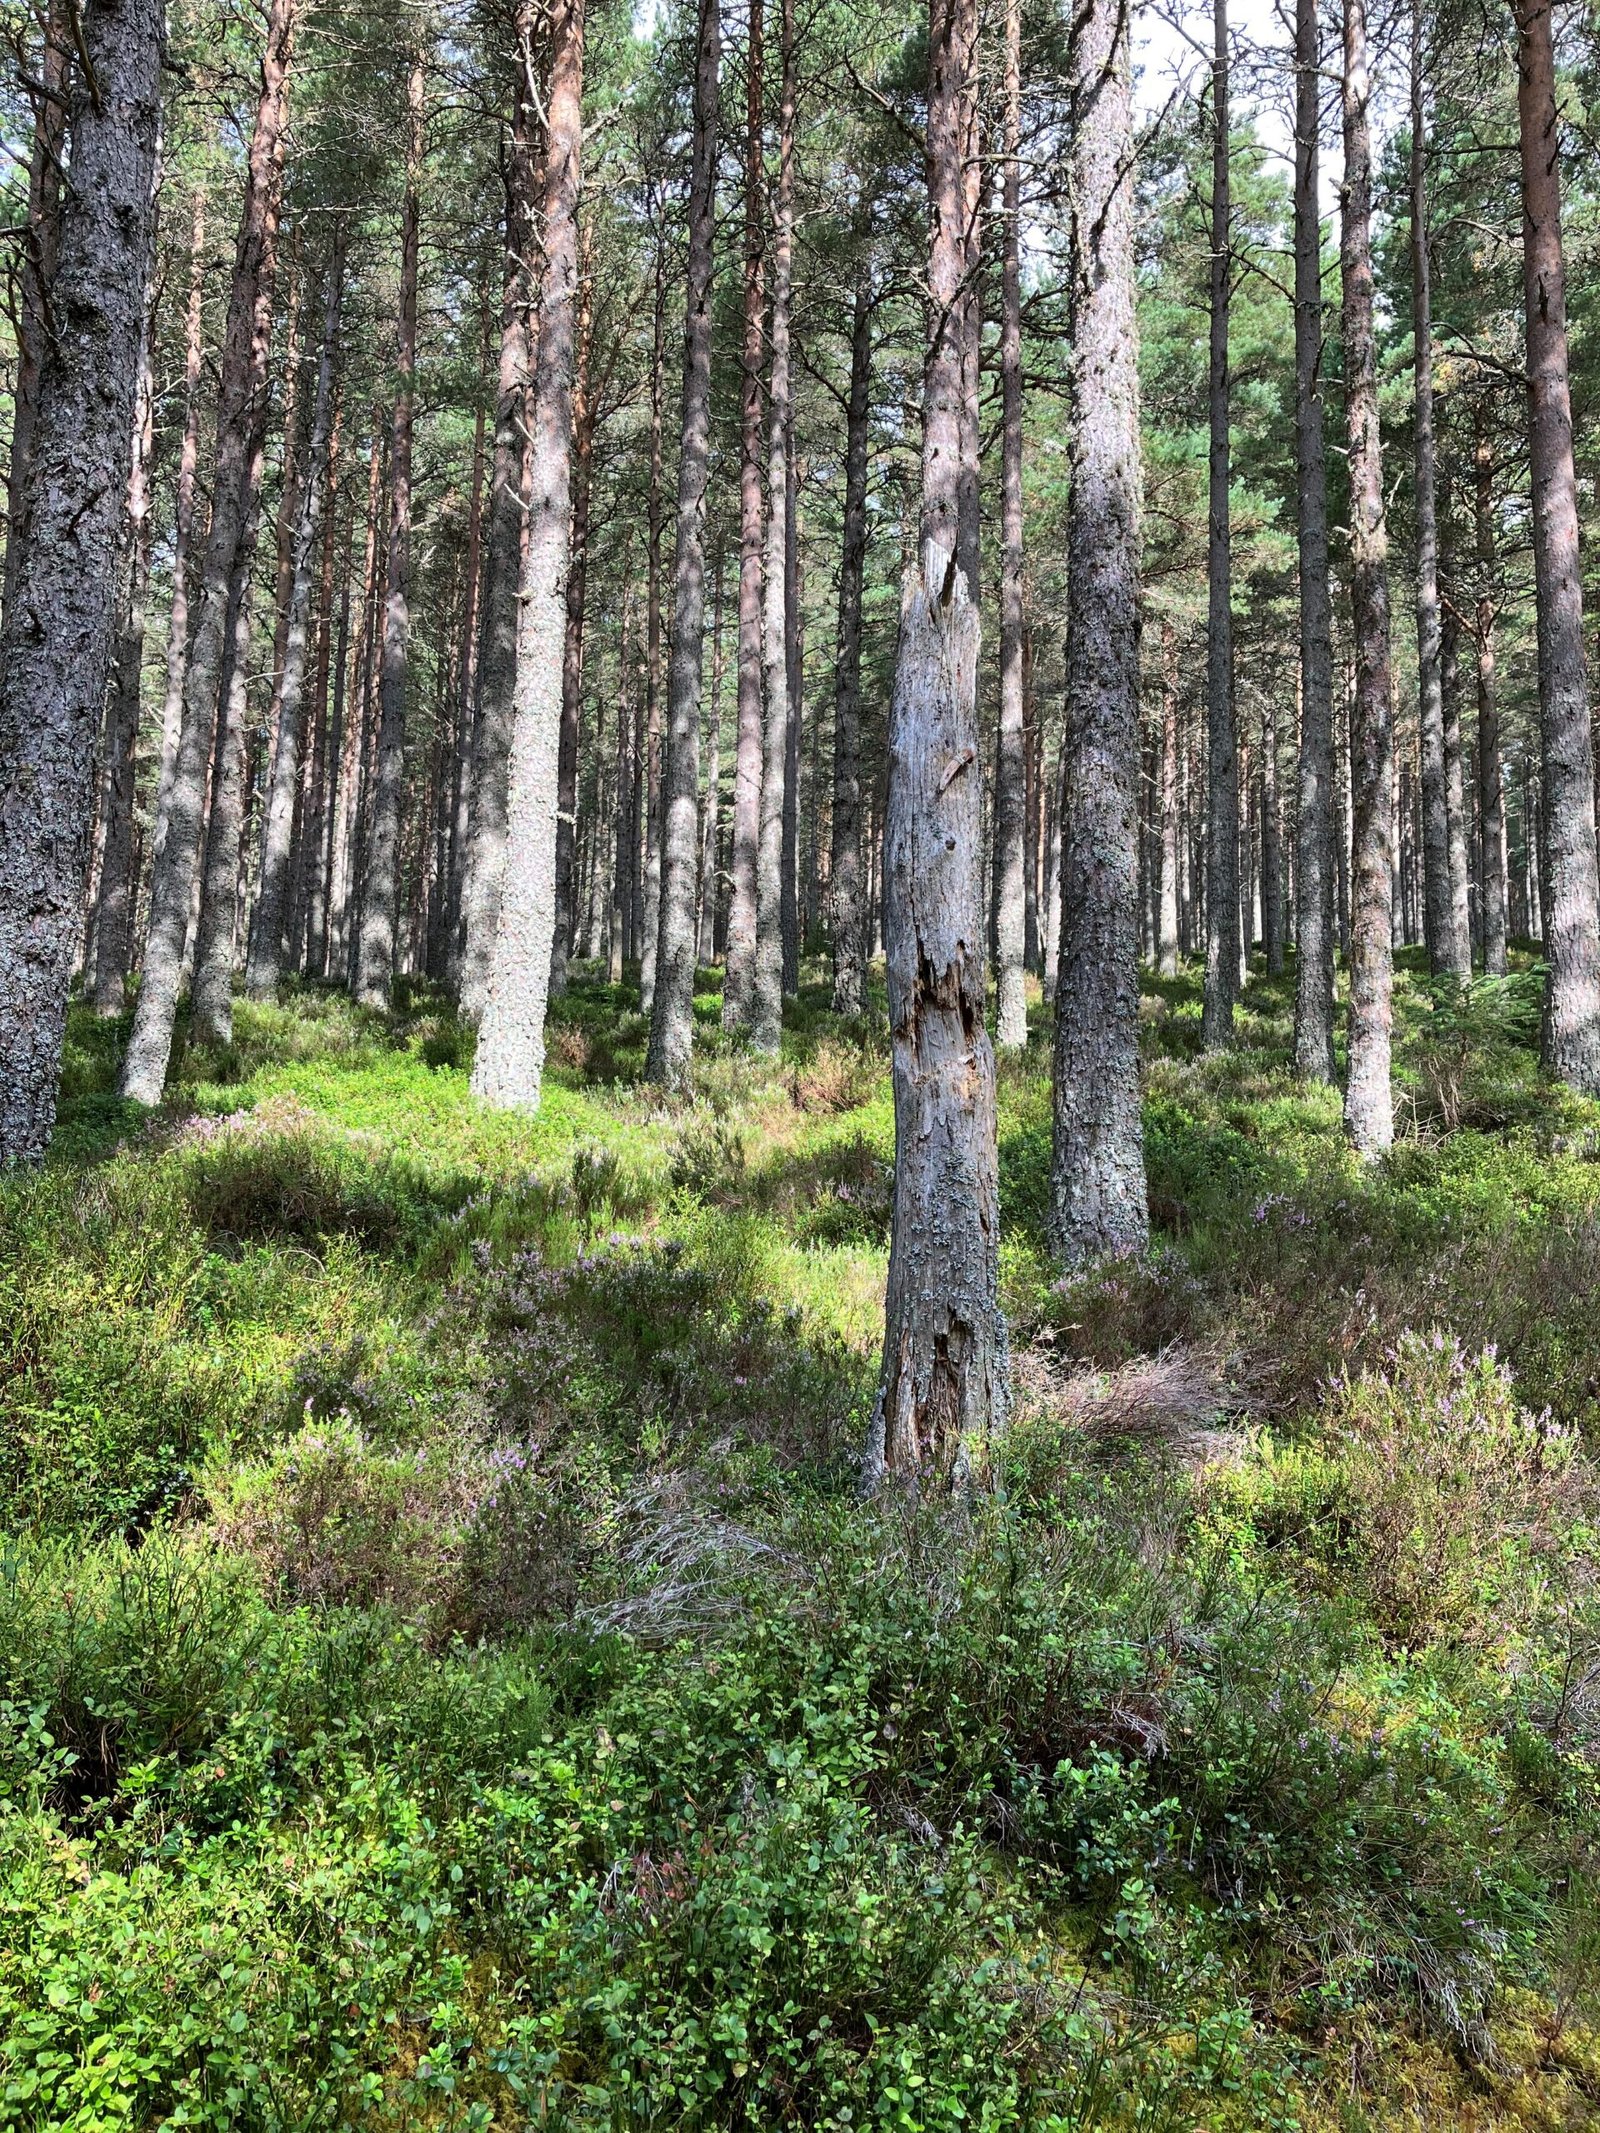
I enjoy spending time in nature and creating images more or less every day. Back then, I decided I needed to get a better grasp on taking pictures of more intimate landscape scenes in the nearby woodlands. There would be innumerable compositions and possibilities open to me in this case. The thought crossed my mind. Photographing in the forest can be challenging because it is cluttered, chaotic, and unforgiving, and finding good compositions can be challenging as well. The fast-paced world of social media, on which so many photographers rely, makes even a well-composed forest scene somewhat demanding for the viewer.
Forest photography is a subgenre that can be quite frightening. It is my humble opinion that it is our most challenging task. My goal was to learn the tricks of the trade after studying those who master it so well (Hans Strand, Lars Van De Goor, Christopher Burkett, Charles Cramer, and Kilian Schönberger). My portfolio of forest images was nearly as thin as before, years later. Over the years, I’ve hoped to have revealed a few of the secrets that make forest images compelling, at least for me.

Forest Photography Compositional Elements
Light
Forests are more forgiving than grand landscapes, which usually benefit from spectacular light. Light is softened and simplified by grey skies, dull skies, and even rain so weather conditions play a large part here.
In direct sunlight or hard midday light, foliage reflexes will burn out and black shadows will form. There is nothing wrong with venturing into the woods on a clear day, but overcast days are ideal. When visiting, make sure you go early or late in the day when the sun is low in the sky and not too harsh. Morning sun-illuminated trees are among the most beautiful sights.
The fog can add a sense of ethereality to a scene, simplify an otherwise chaotic scene, and enhance the depth of the composition, an element I find crucial in forest photography. The topic will be discussed shortly.
Early morning fog that slowly clears out as the sun emerges is the ideal condition for capturing forest scenes. A location that would otherwise be average may be elevated to divine levels by such lighting conditions, including light beams. I live in an area where this rarely happens, so memorizing a few locations and compositions beforehand makes it easier to capture those stunning images when conditions are right. Landscape photography requires a lot of planning.
Depth
My favorite forest images include an element of depth that I find extremely important. It gives the impression that the forest continues on and on and that what you are photographing is just one tiny part of a larger whole when you compose with a composition that allows you to see further into the forest.
Place the “it” element in the foreground and use branches or fallen trees to create leading lines to the backdrop to create a sense of depth. A sense of depth is also greatly influenced by light and atmosphere. As I mentioned previously, fog gives a wonderful blurring effect to distant subjects, but light can be used even without fog. In dense forests, smaller clearings are always brighter, so when I’m composing, I often try to build a sense of depth by composing toward a lighter area.
Edges and Corners
It is important to pay attention to the edges of the frame when composing forest scenes. Ensure they contribute to your composition by looking through your viewfinder towards these areas. Highlights should not distract the viewer from the main subject and your message. The sky isn’t usually included in forest scenes unless there’s a particular reason to do so.
Identifying the Special “It”
It is possible to have an amazingly beautiful forest scene in the right light, but I often find that a composition needs a special element that draws the eye. Any detail can be used, so long as it stands out in some way. One can get a sense of a low-angle sun from a low-gnarled tree, a small pond, a few flowers, leaves, or even a sun star.
I often find that compositions are improved by focusing on elements and finding that little extra “it” to add to the scene. While wandering the forests, I look for such details before trying to figure out what the rest of the composition should look like.
Forest image post-processing
Forest images are not post-processed in a standardized manner. Every capture is processed individually, as is the case with all my landscape work. Some common elements can be identified, however.
Noise rarely presents a significant problem, as mentioned earlier. To avoid artifacts, sharpening should always be done carefully. A too-hard result can also be achieved by using contrast and clarity too harshly. Clearness is often reduced to about -5, and contrast is often left at 0.
In highlights, I prefer to use the Orton Effect to add a soft, hazy feel to the lightest areas of the scene.
Colors should be adjusted carefully, and hue, saturation, and luminosity should be adjusted separately. Try out different balances with the greens and yellows.
Though the forest scene with its lines and details may make a good blend difficult, techniques such as panorama stitching, perspective-blending, focus stacking or even focal-length stacking can be used.
In Photoshop, the spot repair tool works well for removing small, disturbing details (such as odd branches and light spots from the sky). Otherwise, you can use the clone stamp tool.
Tips for Photographing Woodlands
In addition to a polarizer, tripod, and remote shutter, I carry a wide range of focal lengths for forest photography. You should also wear good shoes, wear the appropriate clothing, pack a snack, and use mosquito repellant.
It is often the small “it” that draws my attention when I set out to photograph in the woods. My first step after discovering something interesting is to walk around this subject for a long time, carefully considering the light, depth, and all other factors. It is important for me to avoid stepping on anything that may be included later in the composition.
I need time to take in a forest scene properly when taking photos in the forest. If you have difficulty seeing what’s there, take a break and eat a snack to see if you’re on the right track. Give yourself plenty of time. It is important to be patient. I then take out the camera and experiment with different focal lengths and frames through the viewfinder if I still find the scene interesting. Be careful when choosing a telephoto lens. Angle-of-view is only one aspect of focal length. The relationship between subjects close and far is altered by different focal lengths as a result of the compression of the scene. There is a great deal of difference between a composition in the forest and a composition in a city.
Before I set up the tripod, I always make sure that the scene is good and that the composition is ideal. As soon as the technical details are taken care of, I move on to the next stage. Photographing in the woods is almost always done with a polarizer. The colors stand out better because unwanted reflections and desaturation are removed. In many instances, I photograph at the highest ISO I can manage, even though I always opt for the lowest ISO possible. The polarizer also steals some light from the woods due to the dim lighting. My goal is to achieve a decent depth of field and, therefore, a relatively small aperture if I manage to create a composition with some depth. All of these factors contribute to long shutter speeds. Branches and ferns will be moved by even the slightest breeze, blurring details you may want to keep sharp.
To freeze those details and have the depth of field you need, you need an ISO that is high enough to allow a shutter speed that is fast enough to freeze the details. Today’s sensors can handle ISOs up to 800 without any problems. The chaotic and heterogeneous forest scenes tend to be rather forgiving of noise in my experience.
Focus stacking can be used to increase depth of field, but it should be used cautiously from my experience. There are a few issues that need to be addressed first, including an imperfect blending process that renders branches and foliage odd. I am not arguing that not getting uniform, tack sharpness throughout the scene is a bad thing, but I am saying that it may steal some of the depth in the composition.
In my opinion, sharp foregrounds and main elements are sufficient, and distant elements could benefit from some blurring.
It depends on the wind whether I use an aperture of f8-16 or a shutter speed of 1/1000. My metering always results in bracketing up to +/- two steps, despite how much work I put into the metering. You won’t know how your exposure should be until you look at it on a bigger, calibrated screen, as you will have bright highlights and dark shadows in the forest. The histogram will help, but you still won’t know how your exposure should be until you look at it on a bigger, calibrated screen.

Final Thoughts
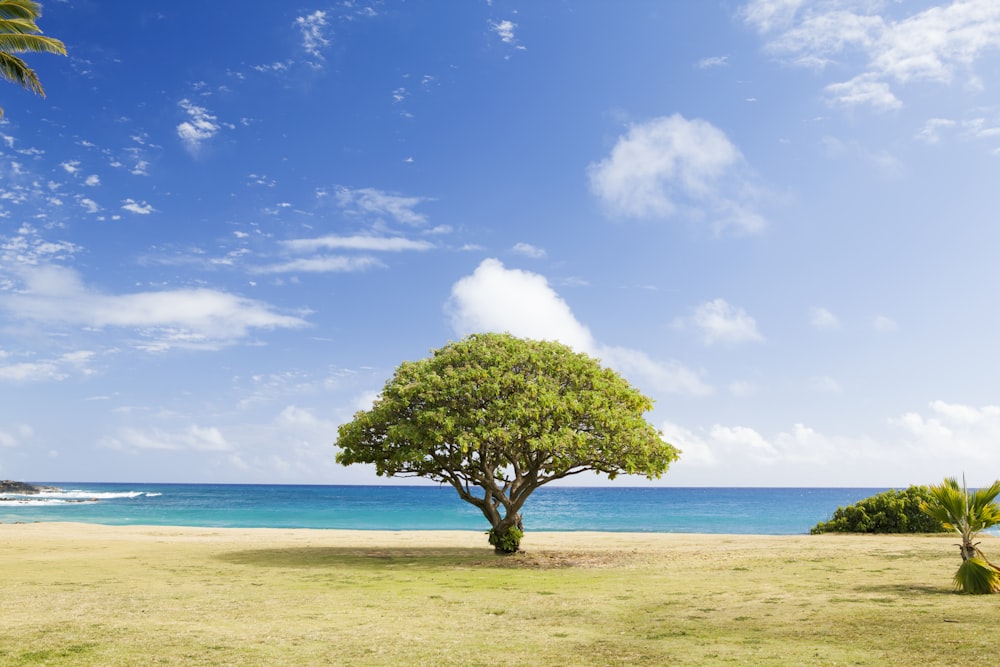
As someone who enjoys woodland photography, I think in this way when trying to get a good photo. It is meant to be a guideline or suggestion about how woodland scenes can be captured, not a rule or guideline itself. I have a particular interest in photographing trees, I think there is such beauty in them. The way a single tree can tower above us with its history, the fact that no single tree is the same, and lone trees such as an ancient oak can tell such a story. I also believe that beauty for landscape photographers when filming forests and trees is to capture these living visuals through the different seasons. Fall colors are so different to early mornings on a summer’s day.
Break away from the tips and tricks to create your perfect landscape shot, a challenge I gave to a friend recently was to go and find a single tree (it could be a large tree, a small tree, or rows of trees) and go and practice shooting in different weather conditions and with different lens. Experiment and see what the outcome is. Sometimes the beauty lies in doing things your own way.
How to Shoot Better Summer Landscape Photography in 2023 – Photography Revision
A Beginner’s Guide to Wildlife Photography | 2023 – Photography Revision