
You may be aware of the term gigapixel photography. Chances are that you may have even seen a gigapixel photo and are pretty much aware of how incredible it can be. But for many, gigapixel photography is still a relatively new concept that needs some introduction.
Derived from the Greek word γίγας (gígas), Giga refers to giant. In the metric system, it refers to Billion and is often represented by the letter G. When it comes to photography; Gigapixel refers to an image with at least a billion pixels.
Let’s say that your camera shoots images of a resolution of 1 megapixel. A gigapixel image will have a minimum resolution of 1000 times the resolution your camera produces. Thus, you must shoot hundreds of photos to create a gigapixel image. You could use this technique to create a panoramic shot of the New York skyline, including the Empire State Building. With the extremely high resolution powered by the sheer pixel count, you can zoom into details as if you are zooming in with your naked eye. The effect is similar to what we have with Google Earth. This technology is routinely used for producing larger prints, but it has other interesting applications as well.
Gigapixel photography has widespread uses, from nature and landscape photography (Top 12 Tips for Better Landscapes – Photography Revision to produce breathtaking panoramas of cities to archival of large paintings and works of art, and even macro photography. An interesting term describes macro images created using the gigapixel photography technique – gigamacros. A favorite genre of mine in which this technology is used is astrophotography.
You can check out the work of noted Astro photographer Bartosz Wojczyński to know more about the possibilities of using this technique in astrophotography.
Hurdles to capturing gigapixel photography
As a professional photographer interested in gigapixel panoramas and high-resolution images, in general, using this technique, there are many technical hurdles in your path. You need a lens longer than a 50mm focal length for the best results. A longer focal length ensures that more details per scene grid can be captured. A wide-angle lens will capture a wider view but less resolution.
Ideally, the images should be captured as quickly as possible. This will prevent issues of elements moving in the frame (automobiles, people, wild animals, clouds, etc.). It will also prevent the issues of changing light and exposure across the images.
The process of stitching should be considered when you’re shooting the images. The outcome is to stitch the images and produce a single panoramic image. If you’re using a robotic mount with a programmed movement, the mount takes care of the images.
Heat haze is yet another issue that gigapixel photographers routinely encounter. This happens when the lens is zoomed in at focus points over great distances. Heat haze results in the image details being blurry. There is precious little that can be done to overcome the issue of heat haze. No commercially available photography software packages do a great job of correcting the effects of heat haze. As a photographer, the only thing that you can hope is that you get a clear day with fewer heat haze issues.
Vignetting is yet another issue that photographers face. Lens vignetting is handled by different photographers differently. This can often be a very time-consuming and tedious problem to solve.
Noise is yet another issue, especially in the genre of astrophotography. You can correct the issues of noise using software like Topaz DeNoise AI. The tool does an amazing job of suppressing noise and, at the same time retaining details in your images. We will do a separate discussion on the editing process some other time.
What you need to shoot gigapixel images
To create a gigapixel image, you will need a robotic camera mount to move a mounted camera in a very specific choreographed movement and make those images. You can also use the Syrp Genie Mini II, a much more cost-effective solution for you to shoot with.
Once the exposures are created, they’re then to be loaded into specialized software that stitches those images and produces a single high-resolution image.
Many software tools allow you to merge multiple images and create a large gigapixel file. Some of these software tools are bundled with a specialized camera mount – such as the GigaPan EPIC Pro I mentioned below.
But if you’re old-fashioned and want to do this in Lightroom or Photoshop, then here are the steps to do this –
These steps consider that you’ve shot the original images as RAW files. This is so you’ve all the image data to play with when editing them in your favorite image editor.
- Import all the images into Lightroom.
- Click on the first image in the series and the last one to select all of them. Now, right-click and select Photo Merge > Panorama. The software will now load a preview of the image.
- Select a Projection. If Spherical is selected by default, let it be. This will, however, depend on the kind of scene you’ve shot and the final image you want.
- Click Merge on the preview window. Lightroom will now attempt to merge the photos and create a panoramic view of all the shots.
- Check the resulting DNG file.
- Open the DNG file on the Develop module, crop it, work on noise reduction, and make any editing adjustments to fine-tune it. If you need, you can also open the image in Adobe Photoshop to further work on it.
Some not-so-conventional methods of shooting gigapixel photos
By now, you would think that shooting gigapixel images is like using a very methodical approach using precise calculations and tools that help you shoot images in a grid system. There are, however, other albeit non-conventional methods as well.

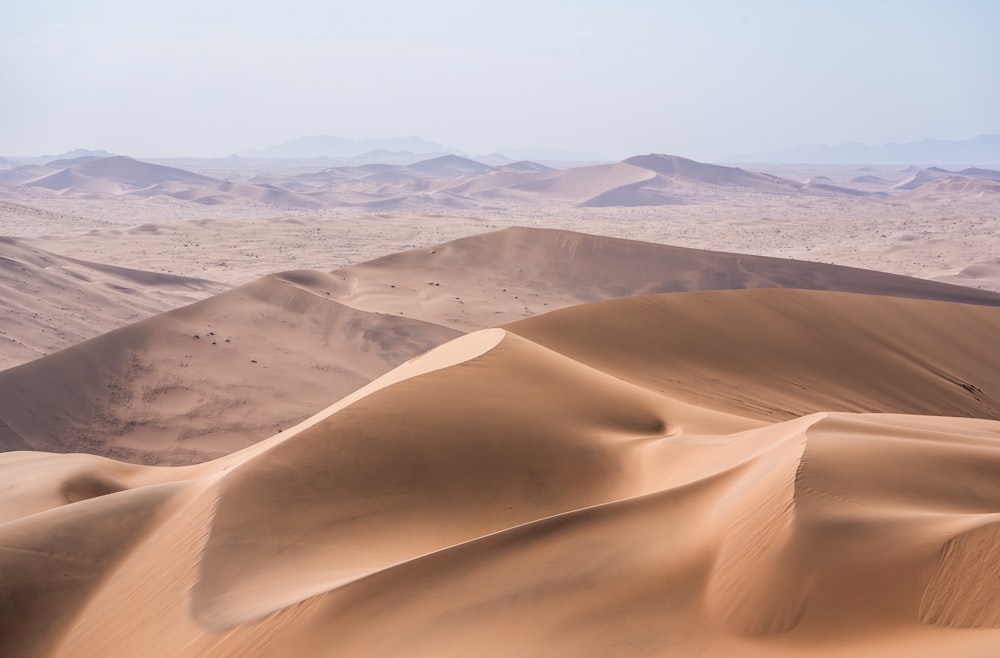
A photographer named Jamen Percy shot a gigapixel image of the Burning Man festival in the Nevada desert. The photos were shot using a drone – the DJI Mavic 3. He shot over 700 images of the temporary city from the maximum permissible height and then stitched them together to create this breathtaking view of Black Rock City.
With the drone flying at the maximum permissible height and the camera pointing downwards, Jamen took a picture every 10 seconds. He made a plan considering the battery life and the maximum flight time possible. Visual markers were used to ensure he had images of each point on the grid, which the software can then use to stitch everything together.
The entire image-making process took about two and a half hours and required a lot of concentration to get all the required shots.
The process of shooting gigapixel images – introducing a robotic mount
I will explain how you can do this using tools like the GigaPan EPIC Pro, a robotic camera mount that ensures that much of the work of taking the images and syncing every shot is done automatically by the robot. This process of gigapixel imagery requires both specialized software and the camera mounting tool.
This particular tool comes with an LCD interface and built-in software. First, you have to mark the corners of the panorama you’re planning to create. The built-in software will analyze the scene and determine exactly how many images it needs to take to make the final gigapixel image possible.
This is where the built-in EPIC Pro software takes over. It starts the process of image making and organizing them in rows and columns. The package also comes with a second software – GigaPan Stitch. This software then combines all the images after aligning them.
The tool is nothing more than a robot with gears controlling the camera’s movement. The robotic camera mounts itself onto the tripod using a standard base plate. A built-in level indicator ensures you can check that your camera is perfectly horizontal before you start your shoot.
Many different types of pano heads or robotic mounts are available. Still, this one, in particular, has been around for a while, and photographers have always left rave reviews about it.
Another tool that you can use is the Syrp Genie Mini II. This great tool functions as a camera controller and is a cheaper and less bulky alternative to the robotic camera mount I mentioned above. If you stitch your photos in Lightroom and require only to shoot smaller panoramas or smaller file sizes (a few gigapixels), you can use the Syrp Genie Mini II to control your camera.
For most gigapixels photography projects, a simple and cost-effective solution like the Syrp Genie Mini II is best. It comes with 360-degree panning motion and a battery life of up to 15 hours. The only thing is that you don’t get a tilting option with this. However, you can pair two of these together, giving both panning and tilting options for a more dramatic field of view.
Alternatives to shooting gigapixel images – using software to upscale your images
For many photographers, the sole purpose of using the gigapixel photography technique is to upscale images. For many of them, the elaborate set-up, investment into specialized tools, and editing may be too much to do for their purpose. Let’s say that you want to upscale a portrait image. Gigapixel AI can make it appear like a camera has taken it with a much higher resolution after processing the image.
Topaz Labs Gigapixel AI is a software tool that’s an image upscaler. It works by upscaling your original image by up to 600% without needing to go through the long and cumbersome process of setting up your camera, shooting thousands of images, and then stitching them together using a photo stitching application. The whole process lasts just a few seconds resulting in high-resolution photographs and large print sizes. The best thing is that it deals with just a single image which means it is awfully fast too.
The software uses neural networks trained on a huge database of images running into millions. The whole purpose of training the neural network of the software is to make it understand what realistically looking images look like and how to retain those realistic-looking details in the photos after they have been upscaled. The result is that the AI can produce incredible detail in the resulting images.
One of the specific improvements that have been introduced in Topaz Gigapixel AI v6.1 is Face Recovery AI. If you have a low-res image with very poor details, you can get stunning results with this new face recovery model. This tool can recover an incredible amount of detail and textures that will give the impression that the image has been shot using a higher-resolution camera. It seems to identify a bunch of facial features, such as facial hair, eyebrows, lips, and eyes, that are susceptible to bad processing (and I have seen some pretty bad upscaling results to say this).
The tool enhances these facial features, adds details, and produces results significantly better than anything I have seen before. Now, before you jump in and say that I am getting paid to write this, I am not. This isn’t a paid promotion at all.
Another impressive area of improvement I have noticed is when I am upscaling images of birds. This can be a nightmare; anyone who has tried upscaling low-resolution images of birds will understand how difficult it is to make things look realistic. Somehow the artificial intelligence that runs Gigapixel AI does a commendable job of upscaling bird images while retaining (and adding) details where necessary. It produces a high-quality result that you can be proud of.
Final Thoughts
Gigapixel imagery is a genre in itself and one that’s pretty exciting. It is not about photographing new things but using a technique that is different from normal photography techniques to photograph everyday things. You can use this technique with the same digital cameras you have, not worrying about sensor sizes and lenses. Just that the technique you use produces better results in terms of larger sizes than the original size you could capture with your gear.
Comments are closed.